Marbling Trays
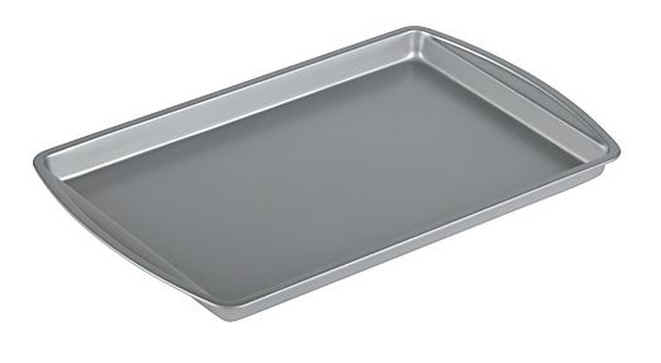
We do not make or sell marbing trays (except in our marbling kits, which do contain a tray). If you are teaching yourself marbling, the easiest thing to use for a tray is an ordinary cookie tray, or baking sheet. Get one that is around 11" x 17" -- the rakes and combs that we sell are made to fit a tray of that size. Your tray should always be a few inches larger than the paper that you will be using most often, so a cookie tray is just right for paper of up to 10" wide. Your tray should be spray painted before you first use it with any kind of white spray paint, since it can get rusty if you don't, and also it makes your colors show up much better than if you are trying to work in a dark tray. Preferably get a tray that is bare metal, not one with Teflon or Silverstone on it, since the spray paint won't stick to that very well. The carrageenan water (called the "size") only needs to be about a half-inch deep in the tray, so a cookie tray with one-inch walls is good enough.

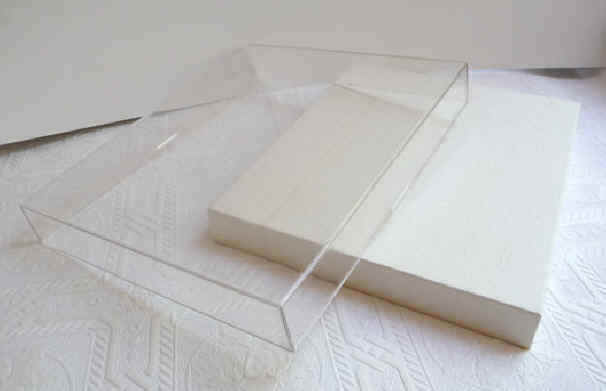
Another thing that can be used as a marbling tray is a clear acrylic plastic box picture frame. Just lay it on its face, with a piece of white paper under it so that you can see the colors you are using more easily. They are made in lots of sizes, and can be found anywhere that frames are sold.
If you want to make large papers, or do fabric marbling, you will have to make your own tray. Below are directions:
Making your Marbling Tray
It's fairly easy to
make your own marbling tray. There
are hardly any commercially available trays, such as photography or baking
trays, that are suitable for marbling large pieces of paper or fabric.
Most of them have rounded corners and slanted sides, which makes it
difficult to skim the surface of the size all the way to the end with a skimmer
stick. A tray with square corners
and vertical sides is always best for marbling.
So most marblers wind up making their own.
The bottom of the tray should be made of plywood. They can cut you a piece of whatever size you want at Home Depot or Lowe's, and they don't charge for cutting it. The piece should be slightly larger all around than the size of the paper or cloth that you will be using most often, plus a couple extra inches at one end, where you scrape all the dirty size to. So if you are making papers of a 19" x 25" size, the tray should be about 22" x 30". If you are working with square scarves that are 30" x 30", then the tray should be about 34" x 36". If you are making long scarves that are about 9" x 52", then make your tray about 11" x 57". They can be slightly bigger if you want more working room, but if your trays are too big, then you waste a lot of expensive carrageenan in filling them.
The sides of the tray
are just thin strips of pine wood, or whatever kind you can find.
They should be glued on with marine glue, or aquarium sealer, which you can find
at the same stores in the caulk or glue section. (Don't use regular
bathtub caulk, it will get soft again when it is underwater for hours.)
Besides the glue,
connect the sides to the bottom with some small nails or screws all around.
Put some in the 4 corners too. Make sure your finished tray is quite
rigid, because you will often be tipping it to one corner to drain it, and you
don't want it to flex and pop a seam. You
might want to put in a drain hole with a cork in it in the bottom of one corner,
but that isn't necessary unless it is a very large tray that is hard to lift.
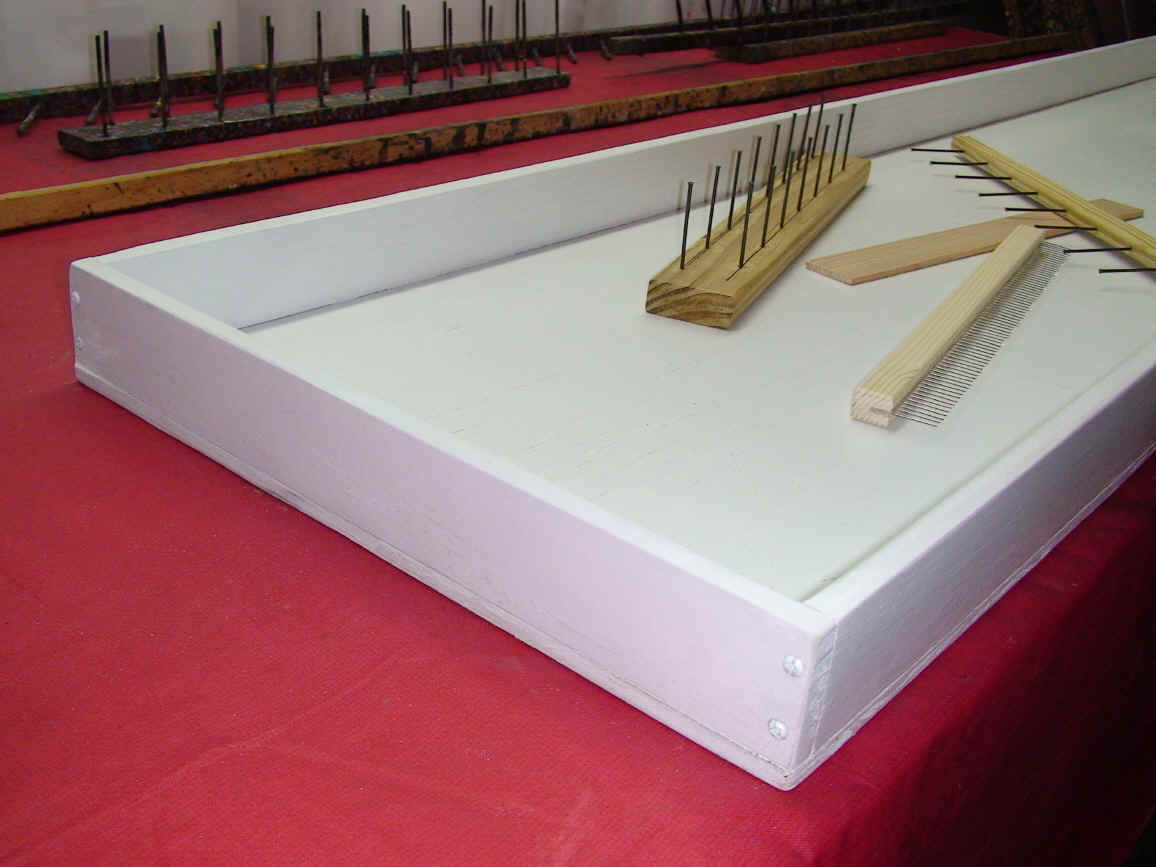
The whole tray must be painted white, which helps to seal the wood, and also makes it so you can see your colors better.
Your tools, such as the combs, rakes, and scrapers have to fit the inside measurements of the tray. If they are too short, lots of color will swirl around the ends of the tools and make distorted patterns.
Galen Berry
MarbleArt.us
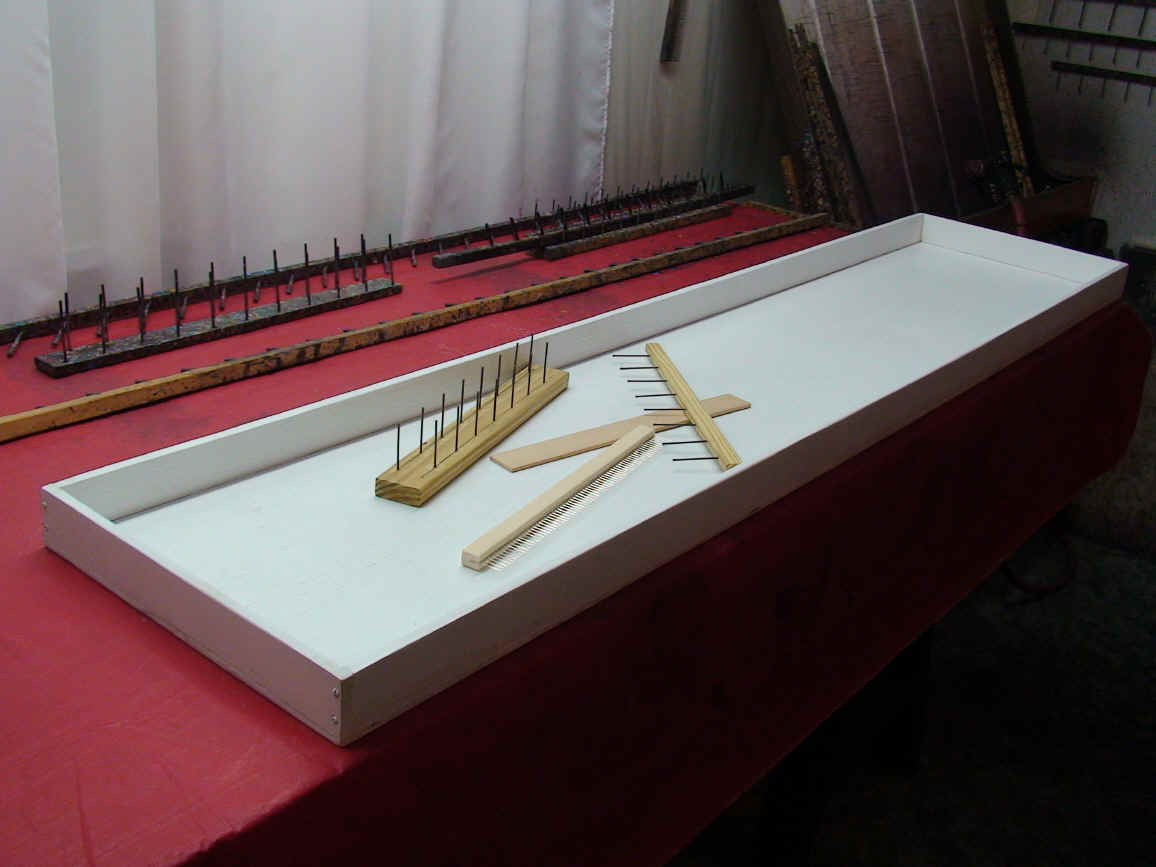
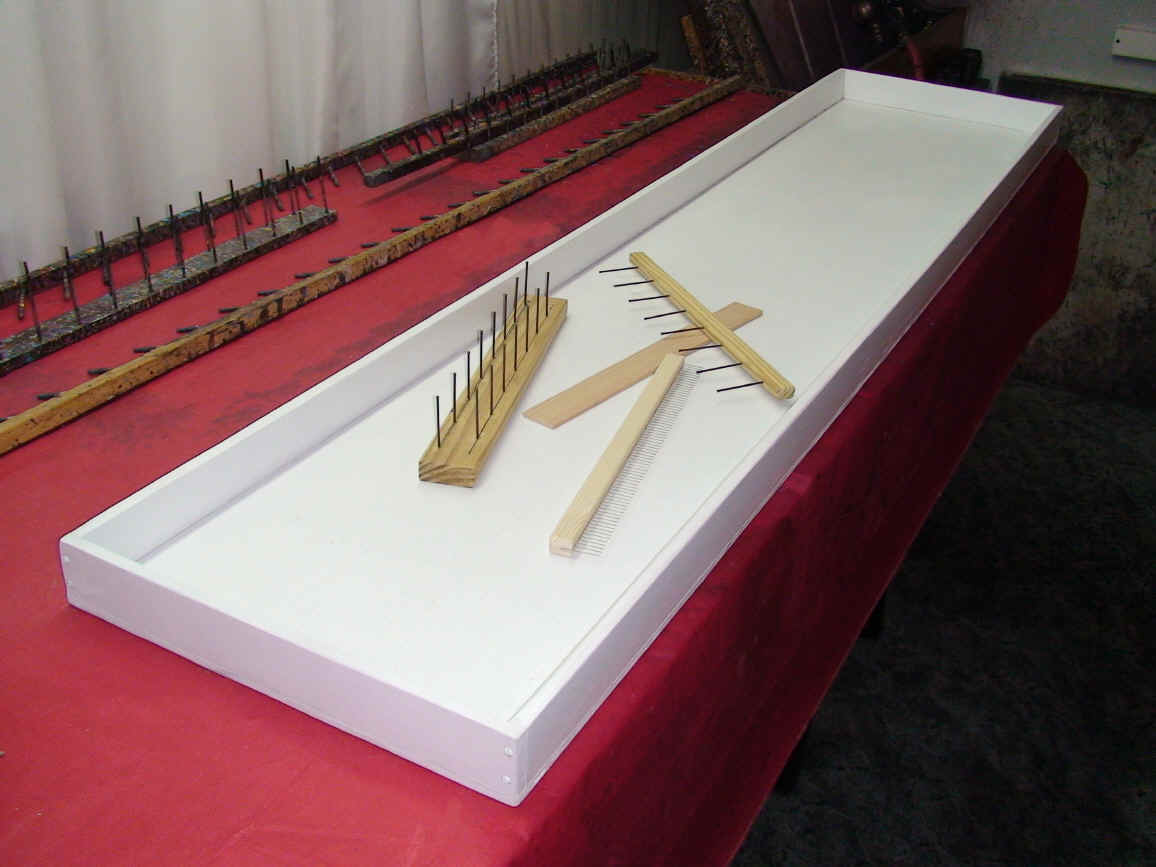
This is me making a large tray for papers 24" x 36":

And of course I had to make a whole set of combs and rakes to fit in the new tray:

These are some of the papers that I made in the new large tray:

