Using
the Wide-Spaced Comb:
Apply your colors to the
size, and make a Gel-git pattern. Then take the wide-spaced comb, and
place it at the bottom of the tray,
with the end of the comb touching the left wall of the tray. Push it up
the tray away from you, producing an upside-down Nonpareil. But don’t
take the comb out of the size when you reach the top of the tray. Instead,
move the comb about 1/8 " to the right,
then pull it very slowly back down the tray toward you,
trying to keep the teeth between the lines you just made on the way
up. This will result in a fine zigzag pattern, called the Chevron.
It is quite difficult to get a full tray of perfect zigzags though, because if
the size sloshes even a tiny bit, the pattern will be thrown off. So do
the up-and-down combing very slowly and carefully.
Of course you could also
comb from the top down as usual and then up, and produce the same Chevron
pattern. But it’s easier to see what you’re doing and to keep the
lines on track if you go up first and then down. This pattern isn’t
printed very often by itself, it is usually an in-between stage to the patterns on
the next page.
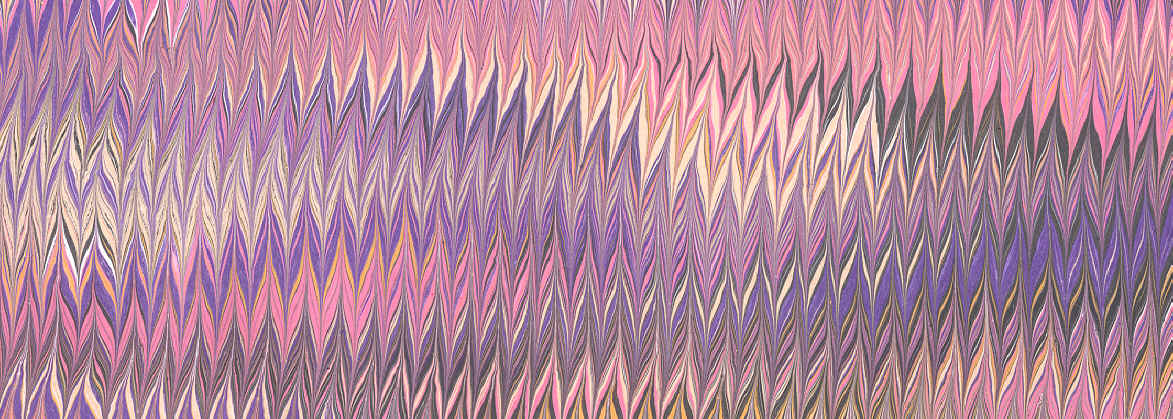
The Chevron is easier to make with a
wide-spaced comb rather than a standard comb. The pattern won’t tend to
drift off track as much if you use a wide-spaced comb.
Chevron Pattern:
After you have your chevron pattern
floating in your tray, you can use the rake to make these patterns:
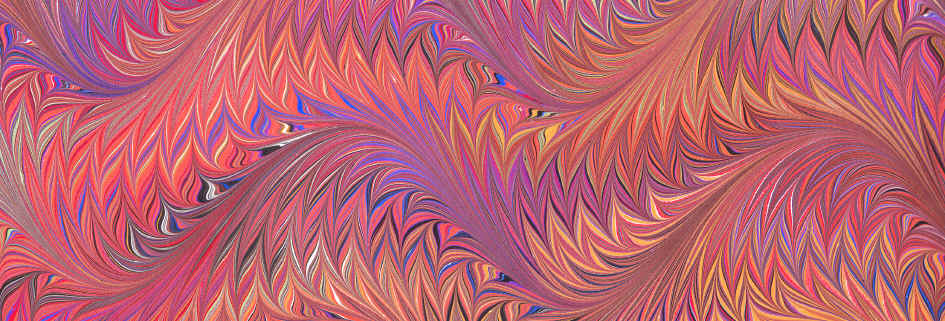
Chevron Feather::
Chevron Curls:
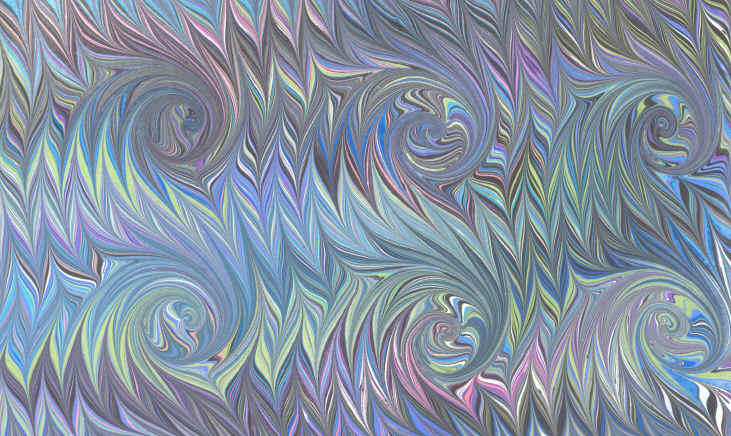
Birdwing:

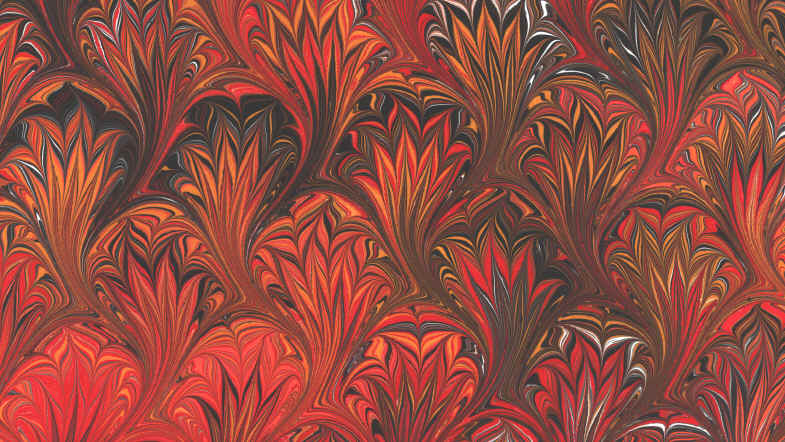
Or with the double rake, you can make the beautiful Thistle pattern:
You can learn detailed directions about how to make these
patterns in Galen Berry's book, The Art of Marbling, for sale on this
site.