Using the Standard Comb:
After you have the desired colors floating on your size, take a small stick or dowel. The stick should be about 3/16" in thickness... thinner than a pencil, but thicker than a toothpick. A chopstick is just about the right size.
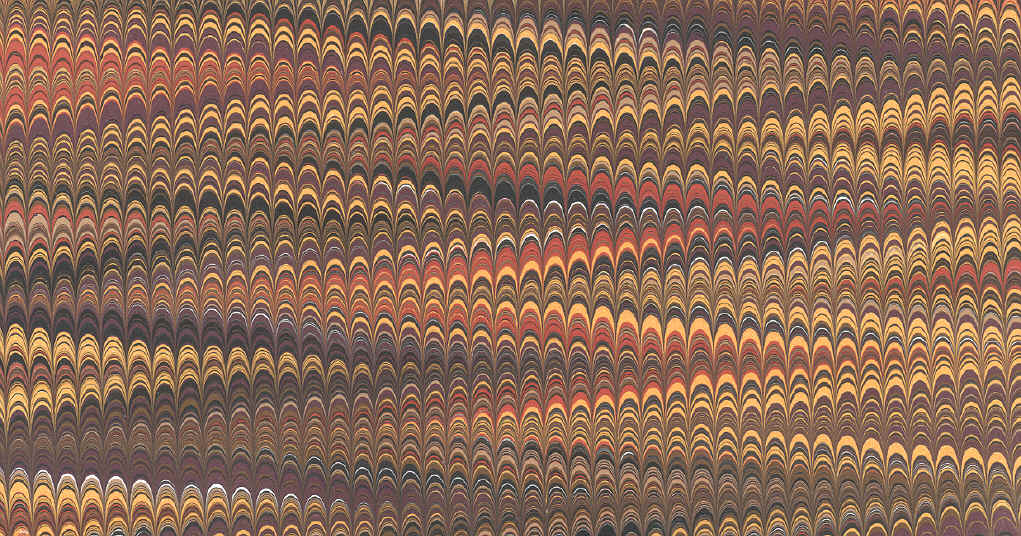
Start to stir the colors: starting at the top, go side to side, back and forth, slowly and carefully, to achieve the pattern below. The stick should be held straight out in front of you, at a 45° angle, with the end of the stick touching the bottom of the tray. Each line should be about one-half inch below the line you just made. Make the lines as straight as possible. Each time you get to the edge of the tray, lift the stick up out of the size, so that the pattern will go clear out to the edge.
This pattern is called the Gel-git, which is Turkish for back-and-forth or to-and-fro (both G’s pronounced like the G in "go", not like a J). It is often called the git-gel or get-gel, but those are incorrect. It can be printed as a pattern in its own right, but the majority of the time it is just an in-between stage on the way to other patterns.
Don't forget to do this step, even though it is somewhat time-consuming; it is important, as you will see.
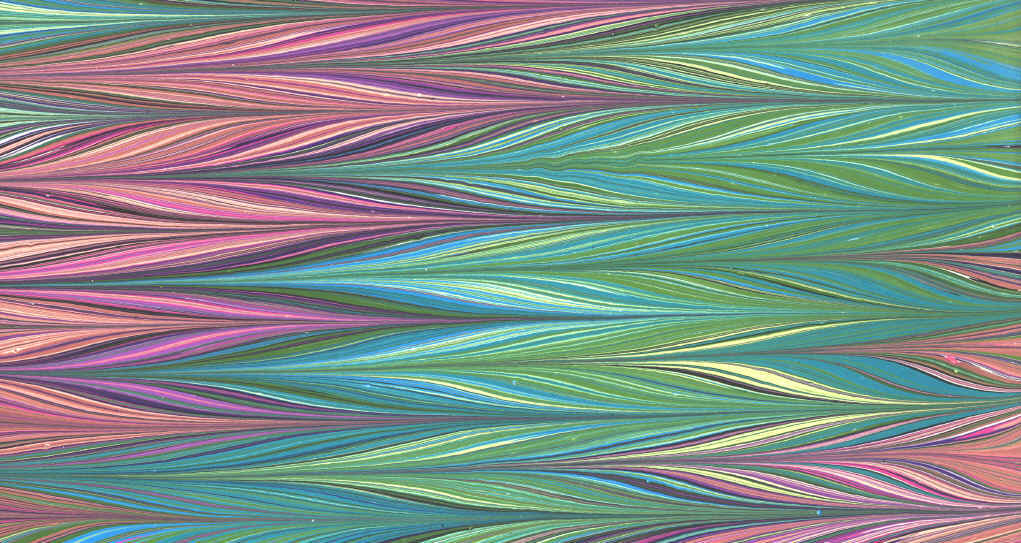
Now place the comb at the top of the tray and pull it slowly straight toward you, producing the pattern below. This is the Nonpareil pattern (nohn-pa-RAY-yuh — French for no parallel, or unique), one of the ancient traditional patterns seen in many old bookbindings. This combing of the colors is one of the most magical moments in marbling — so simple, yet the results are so complex. It is important to learn the Nonpareil, since many other patterns are based on it.
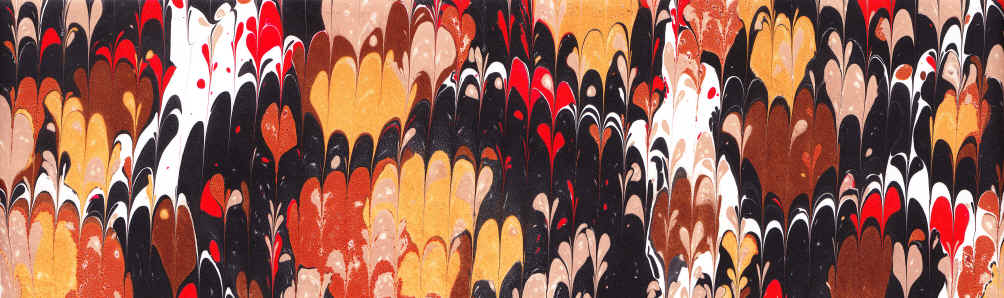
If you forget to stir side-to-side with the stick (making the Gel-git) before combing, you will get the blotchy, patchy pattern shown here, which is considered poor, amateur marbling, and is not an acceptable nonpareil pattern! Always stir before combing. The resulting pattern will be much more detailed and attractive.