In my Marbling Studio

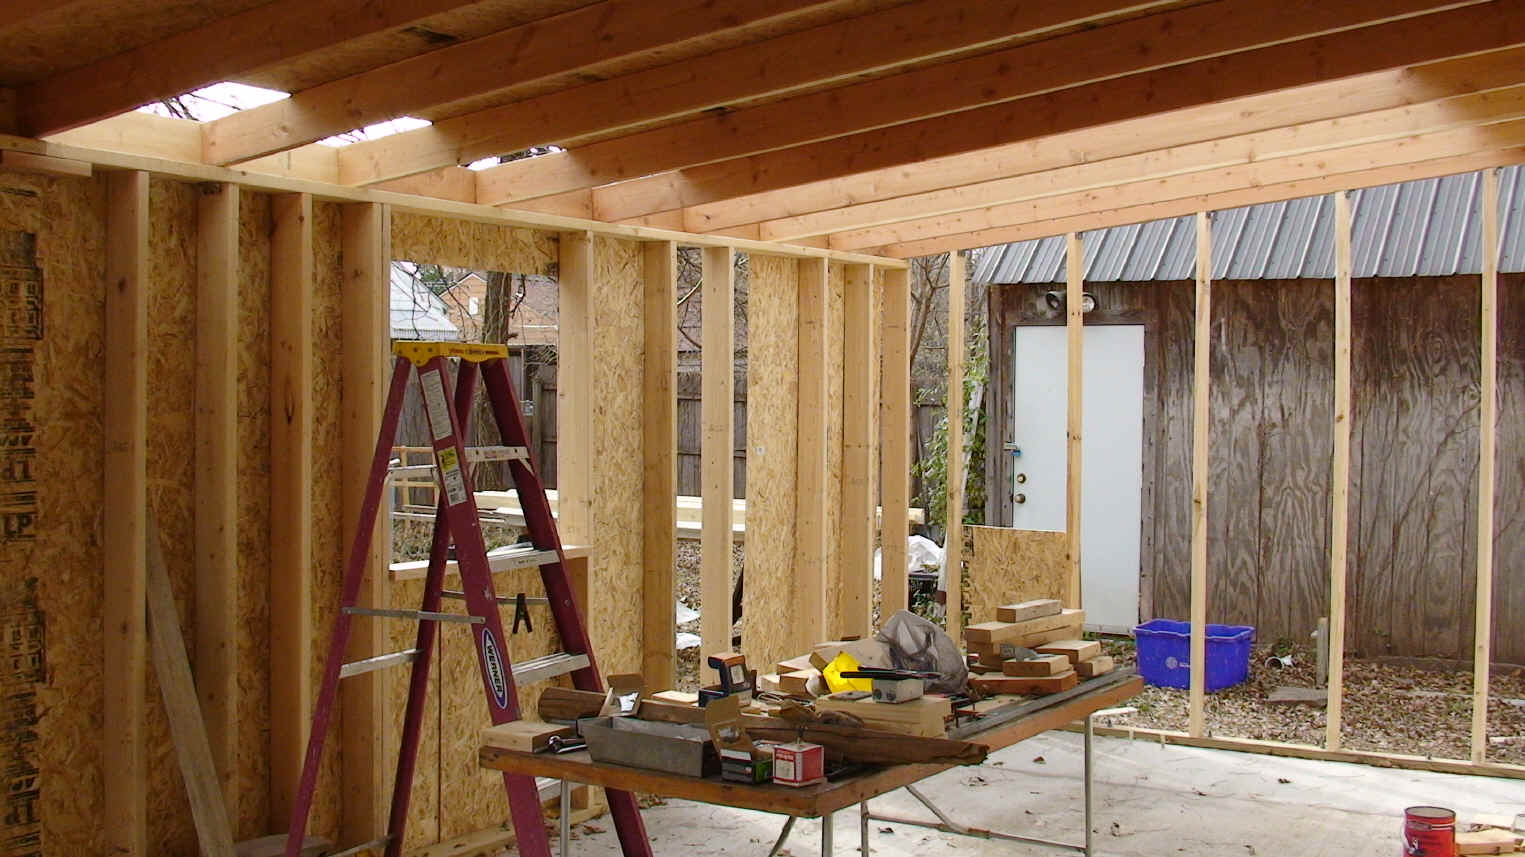
A few years ago I built a new room onto the back of the house -- my future marbling room:
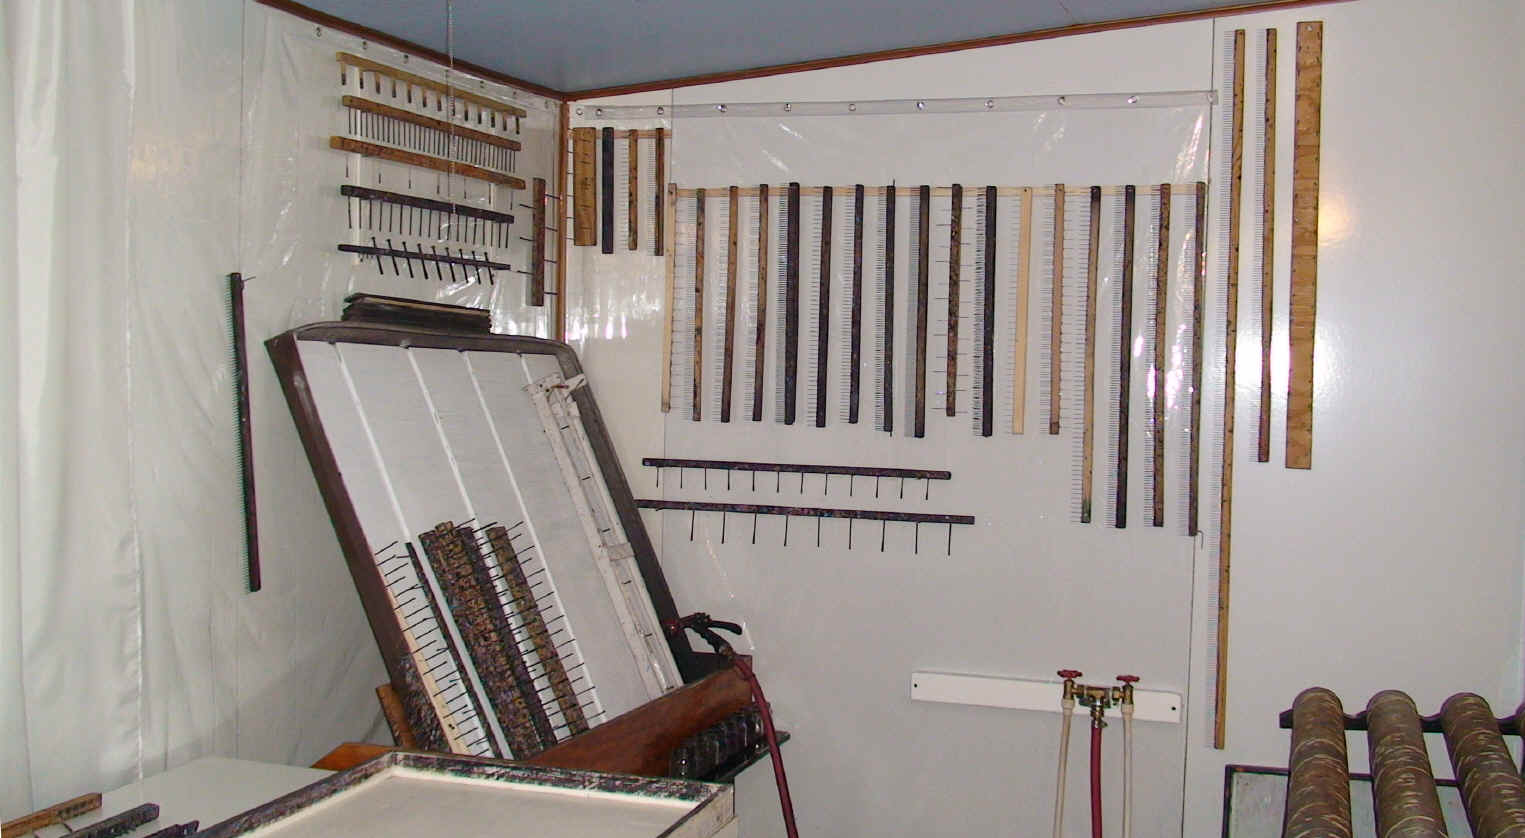
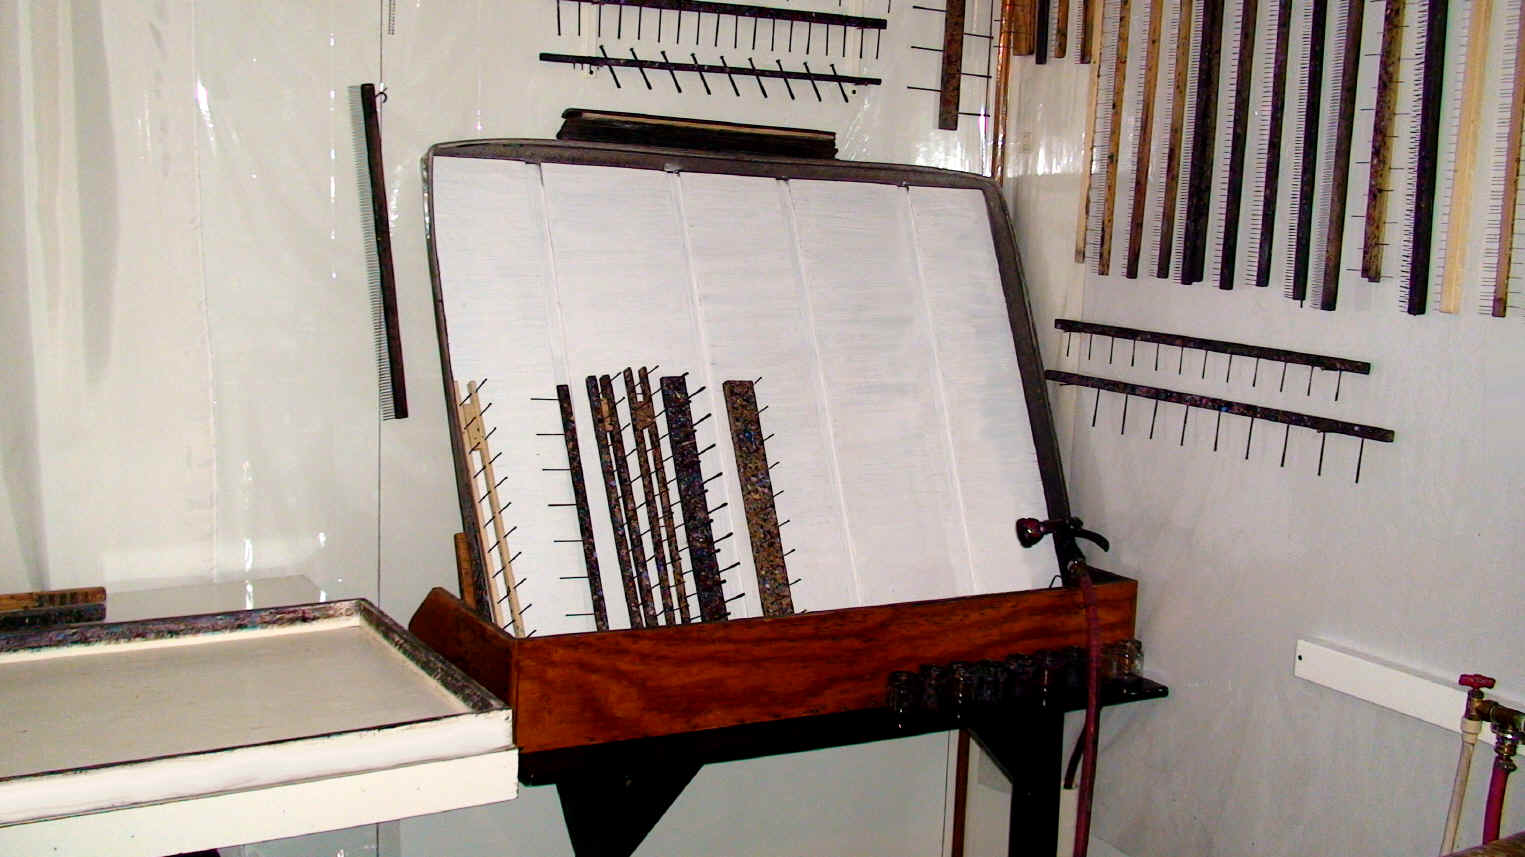
The finished marbling room, before it got all splattered with paint!
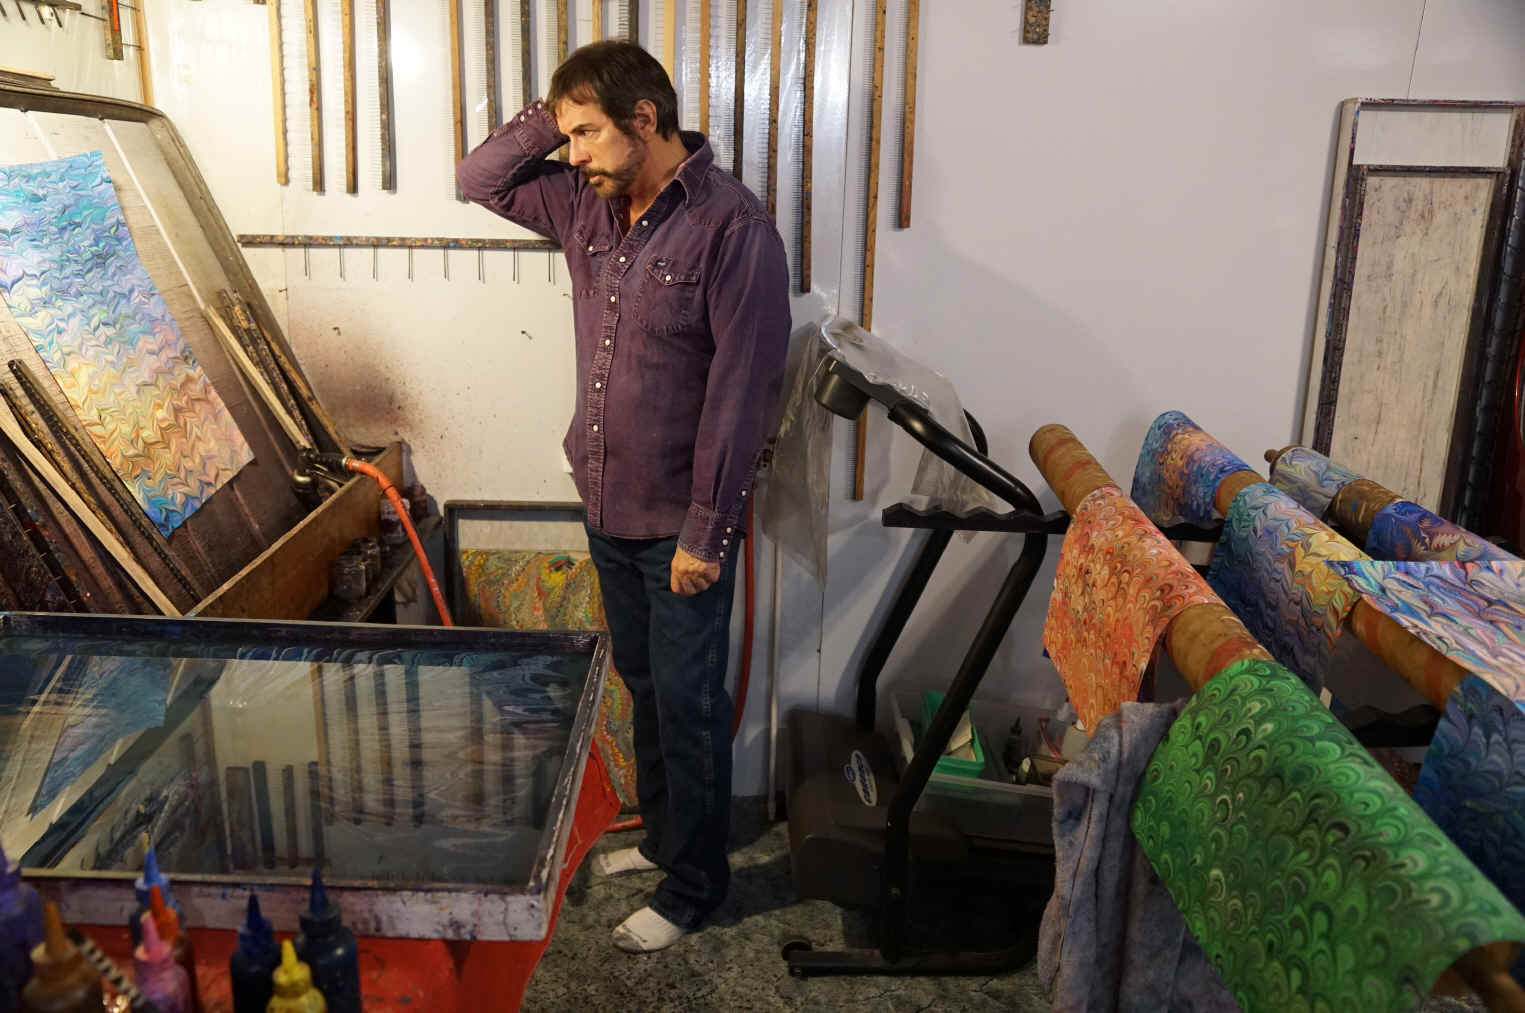
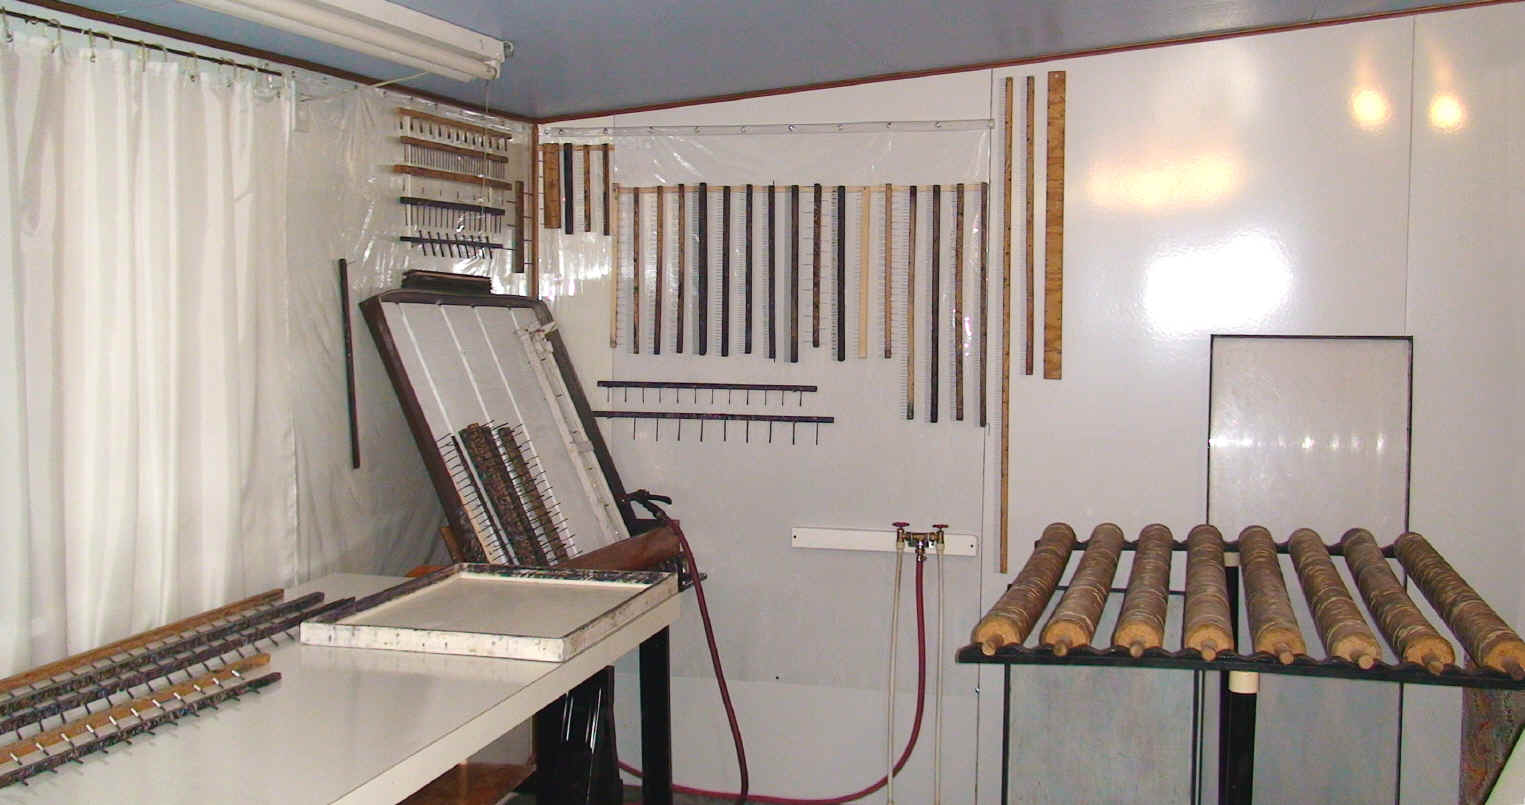
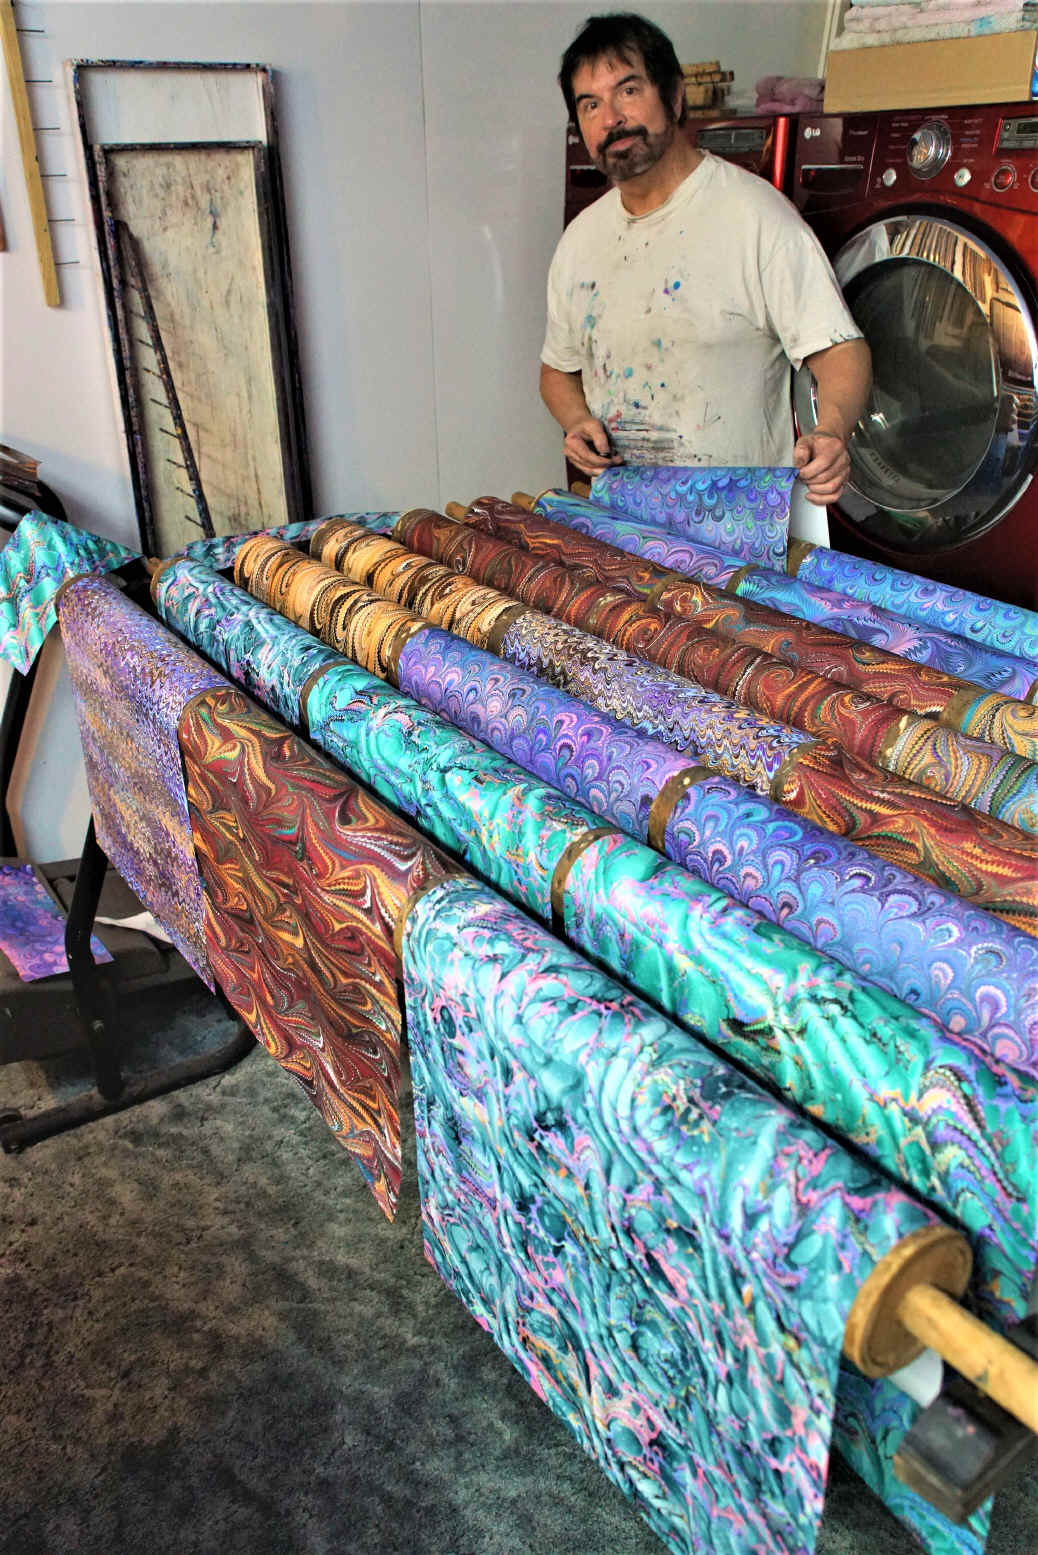
The drip-drying rack is on the right:
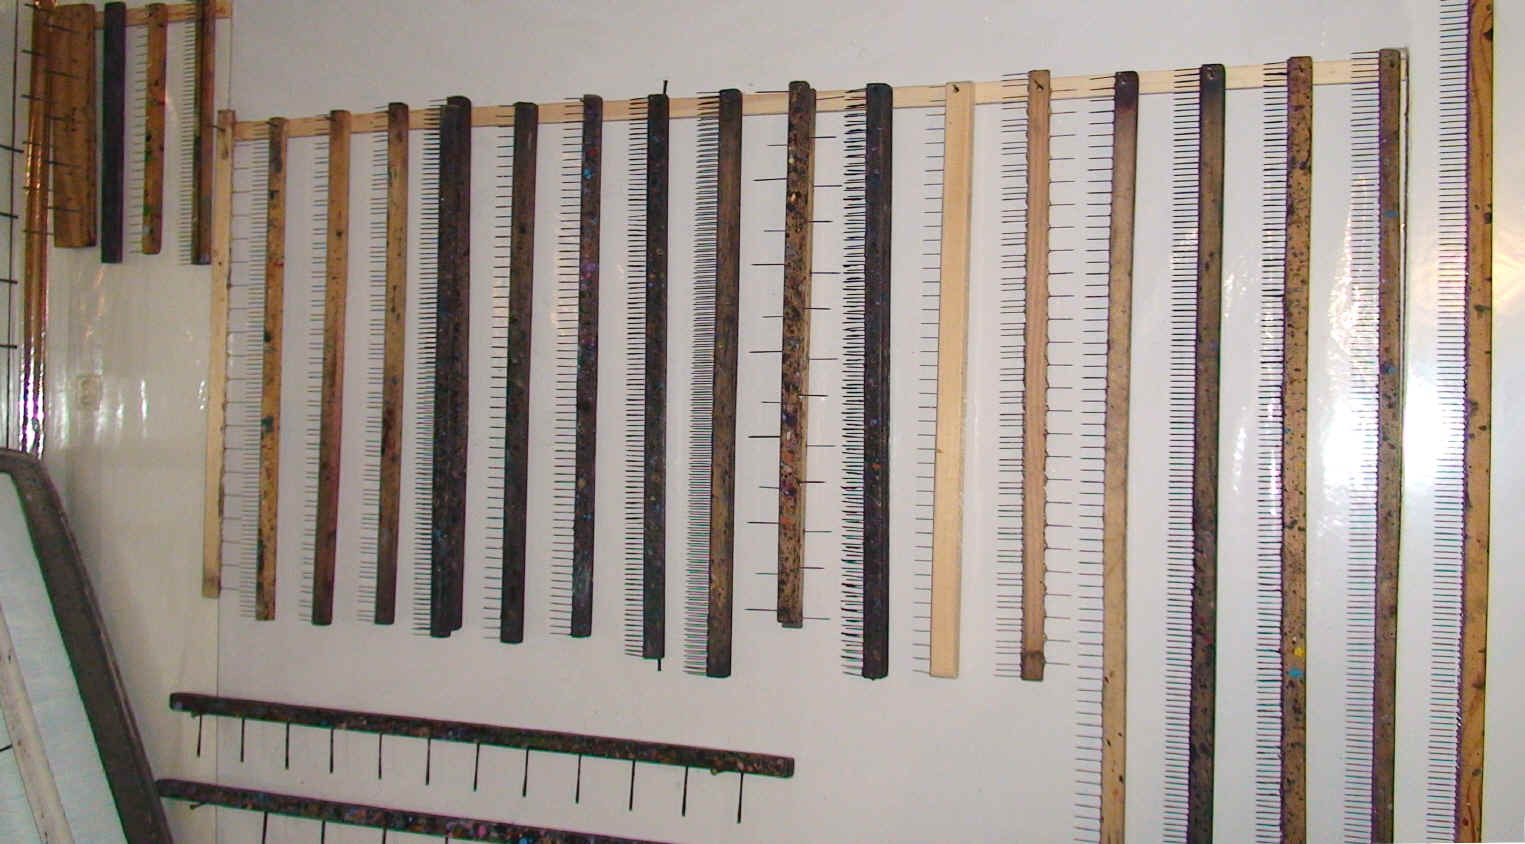
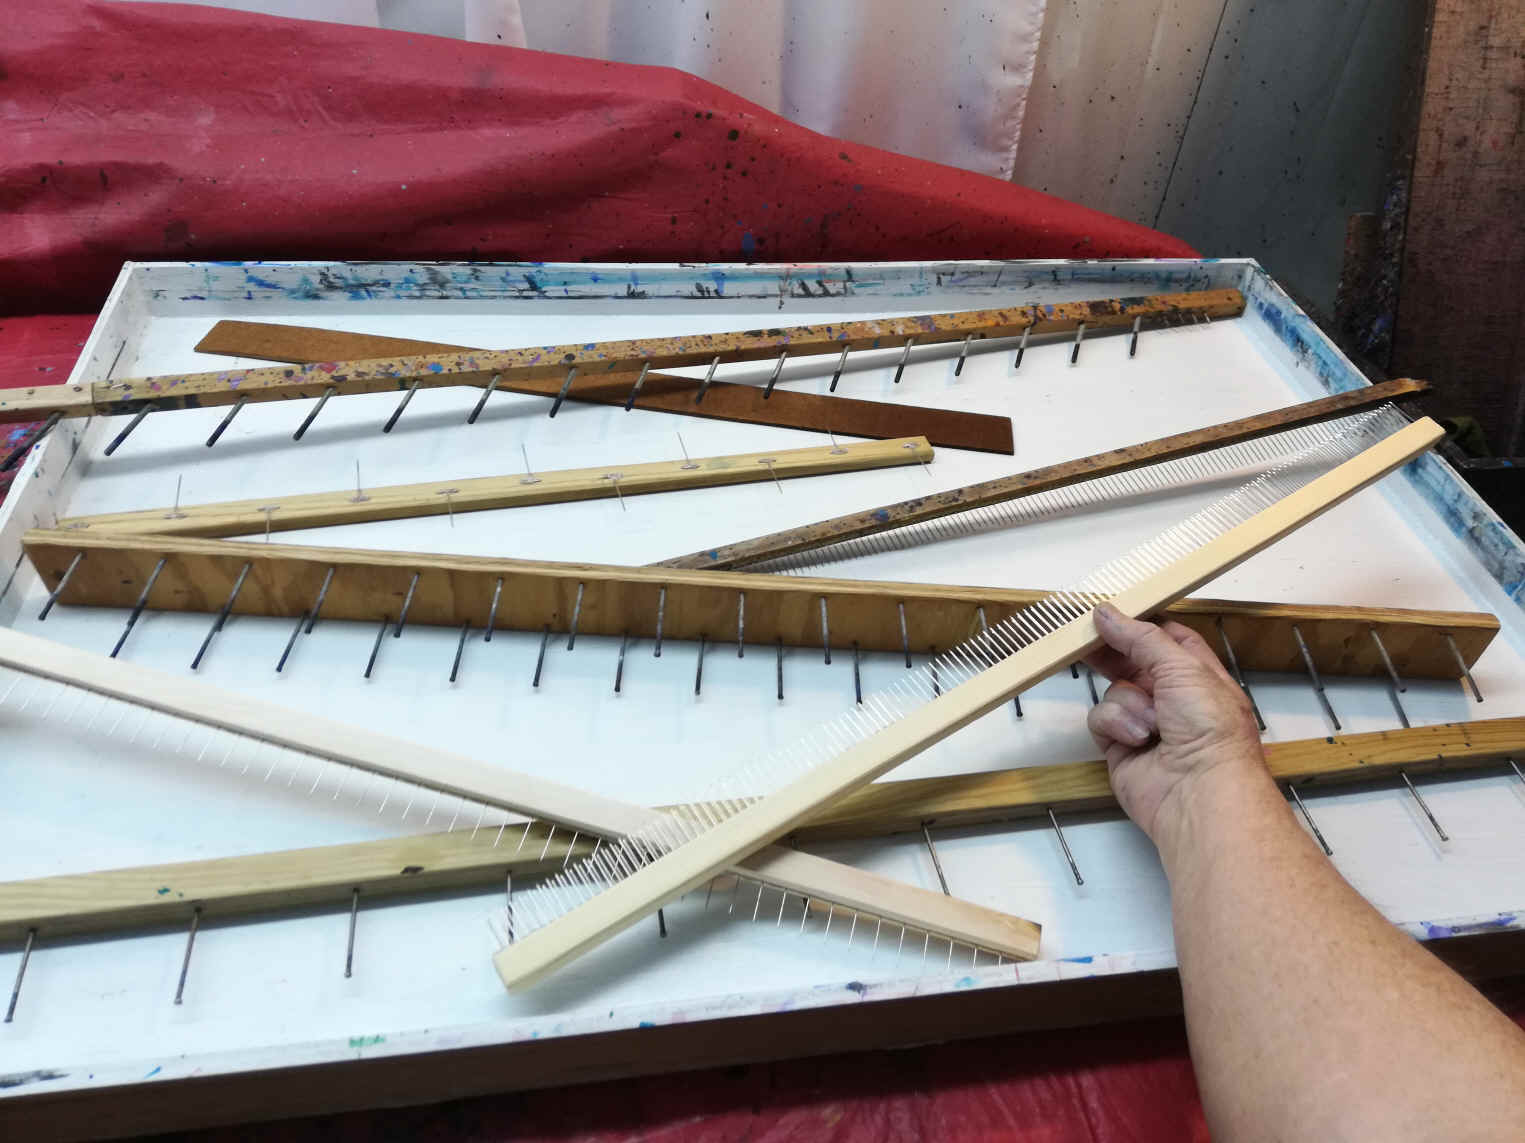
I have made lots of rakes and combs:
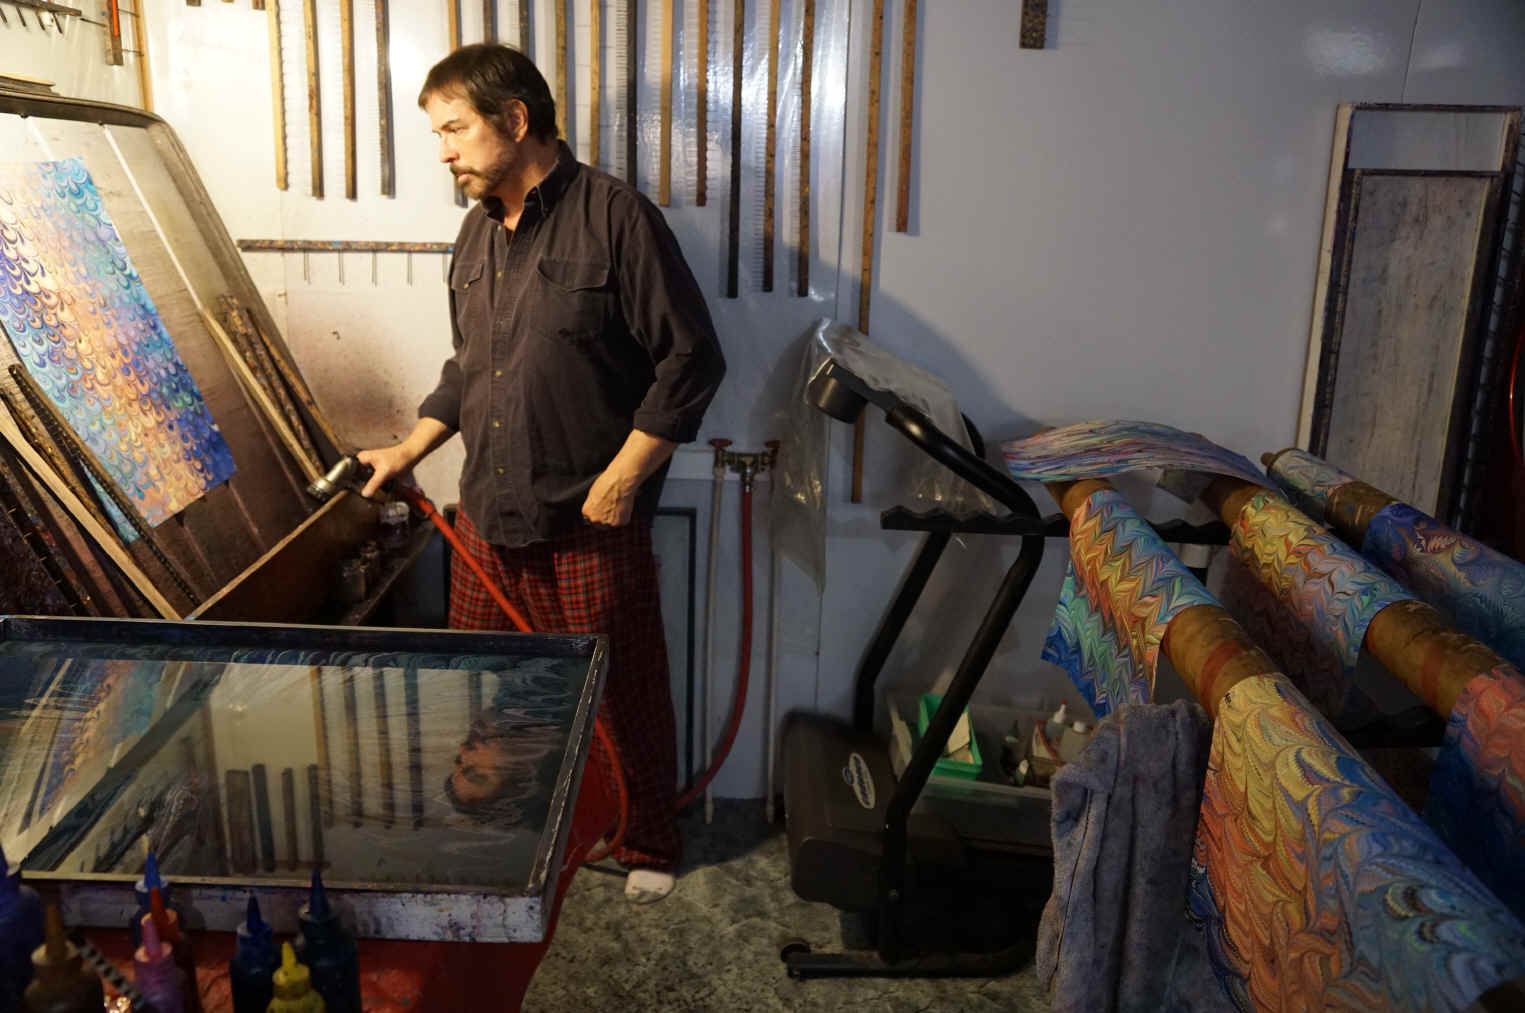
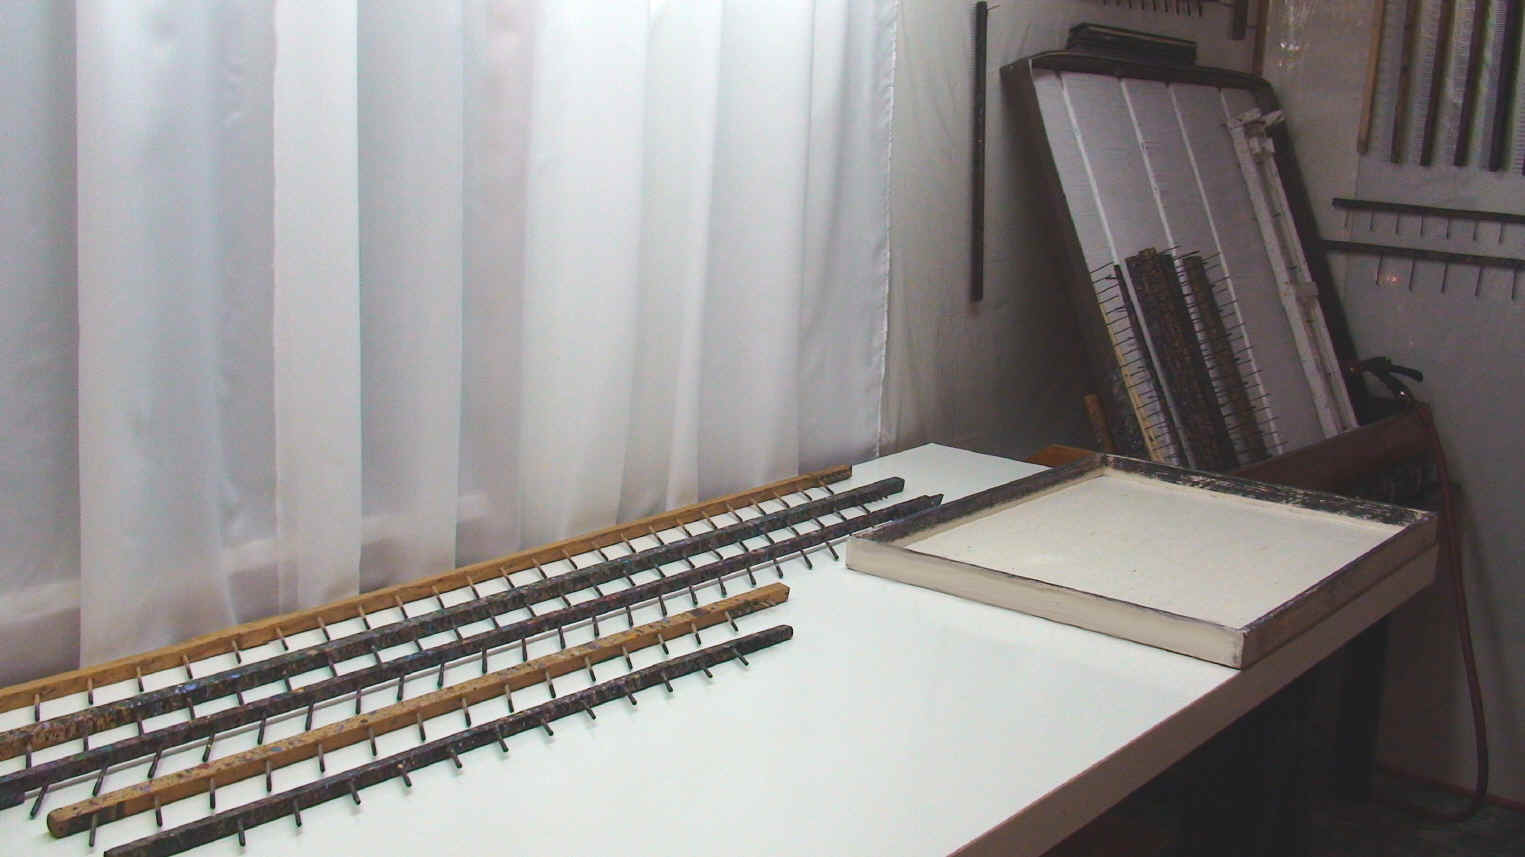
The rinsing area:
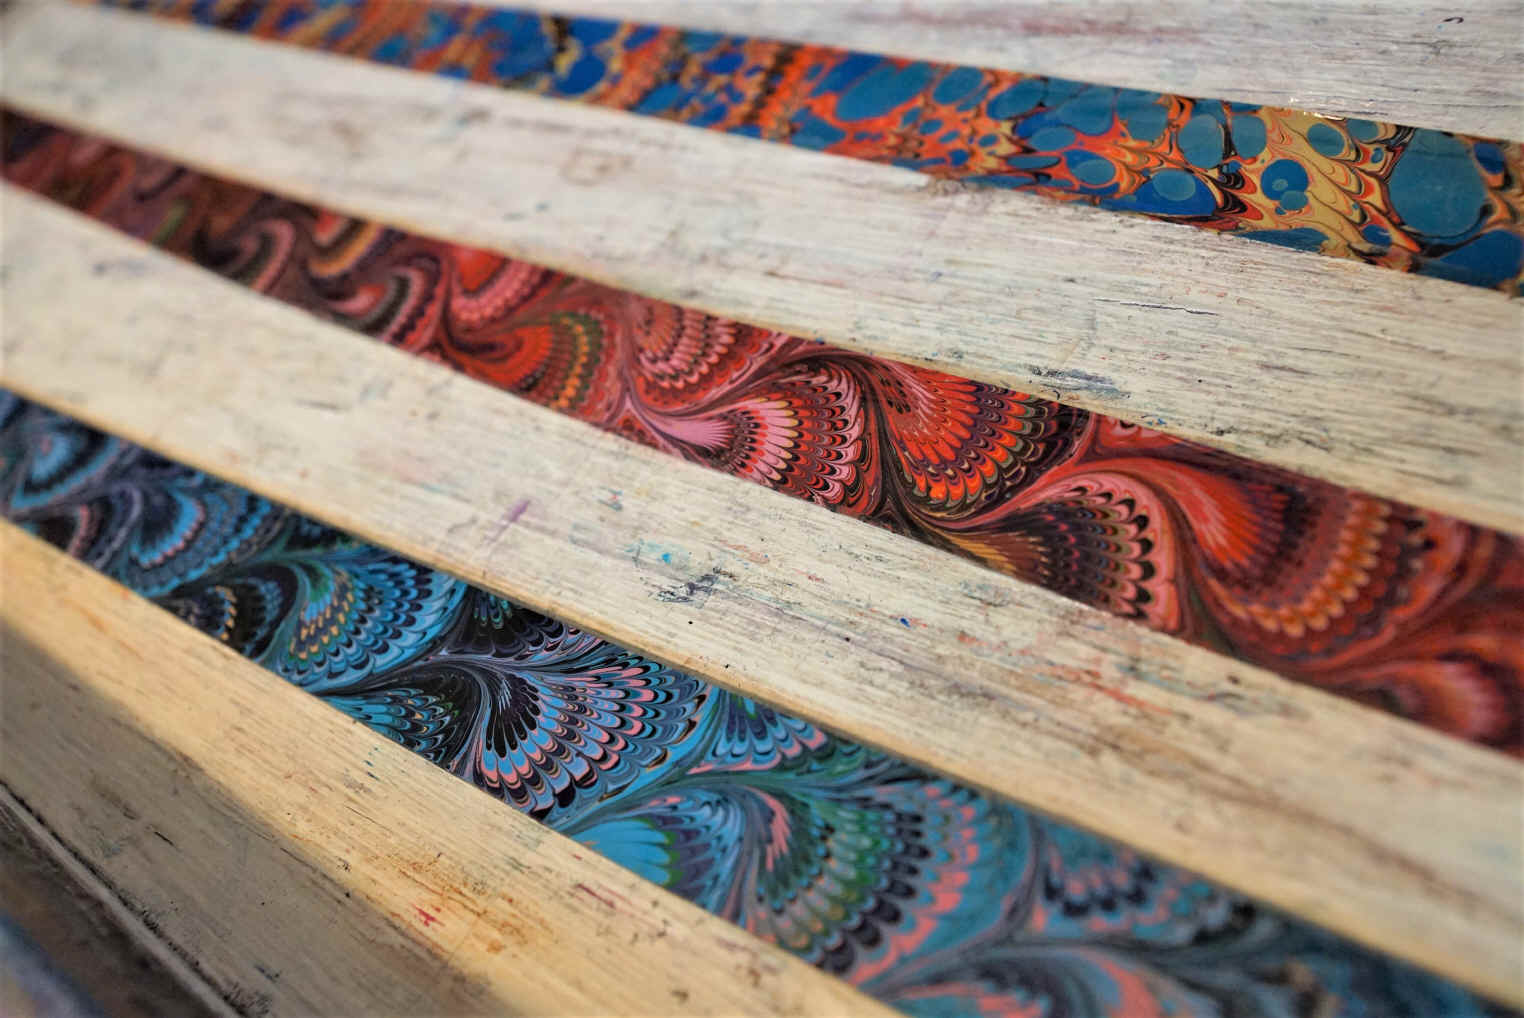
Various long rakes to use in long trays:
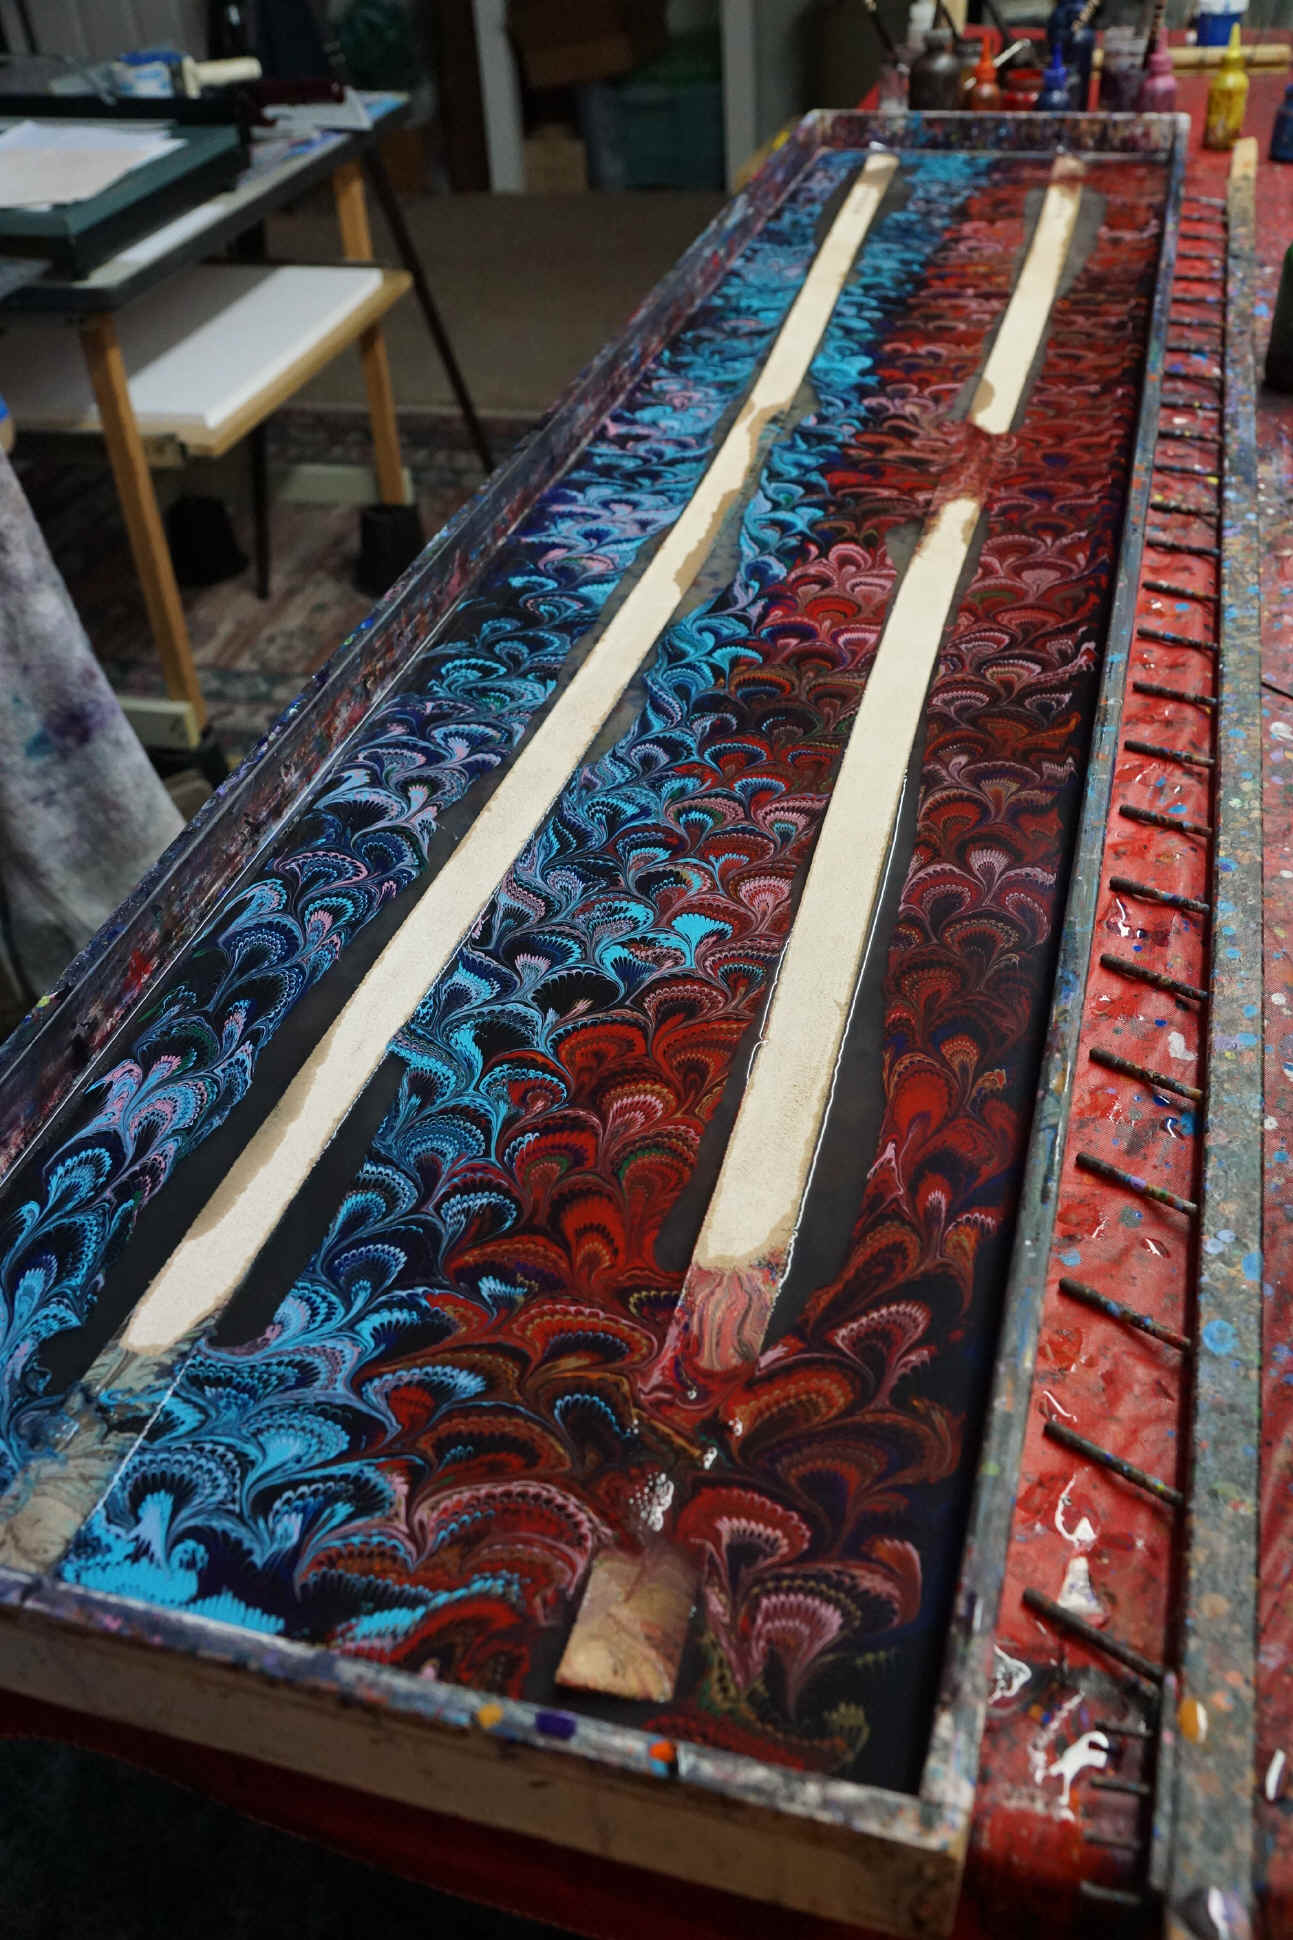
Making a new tray:
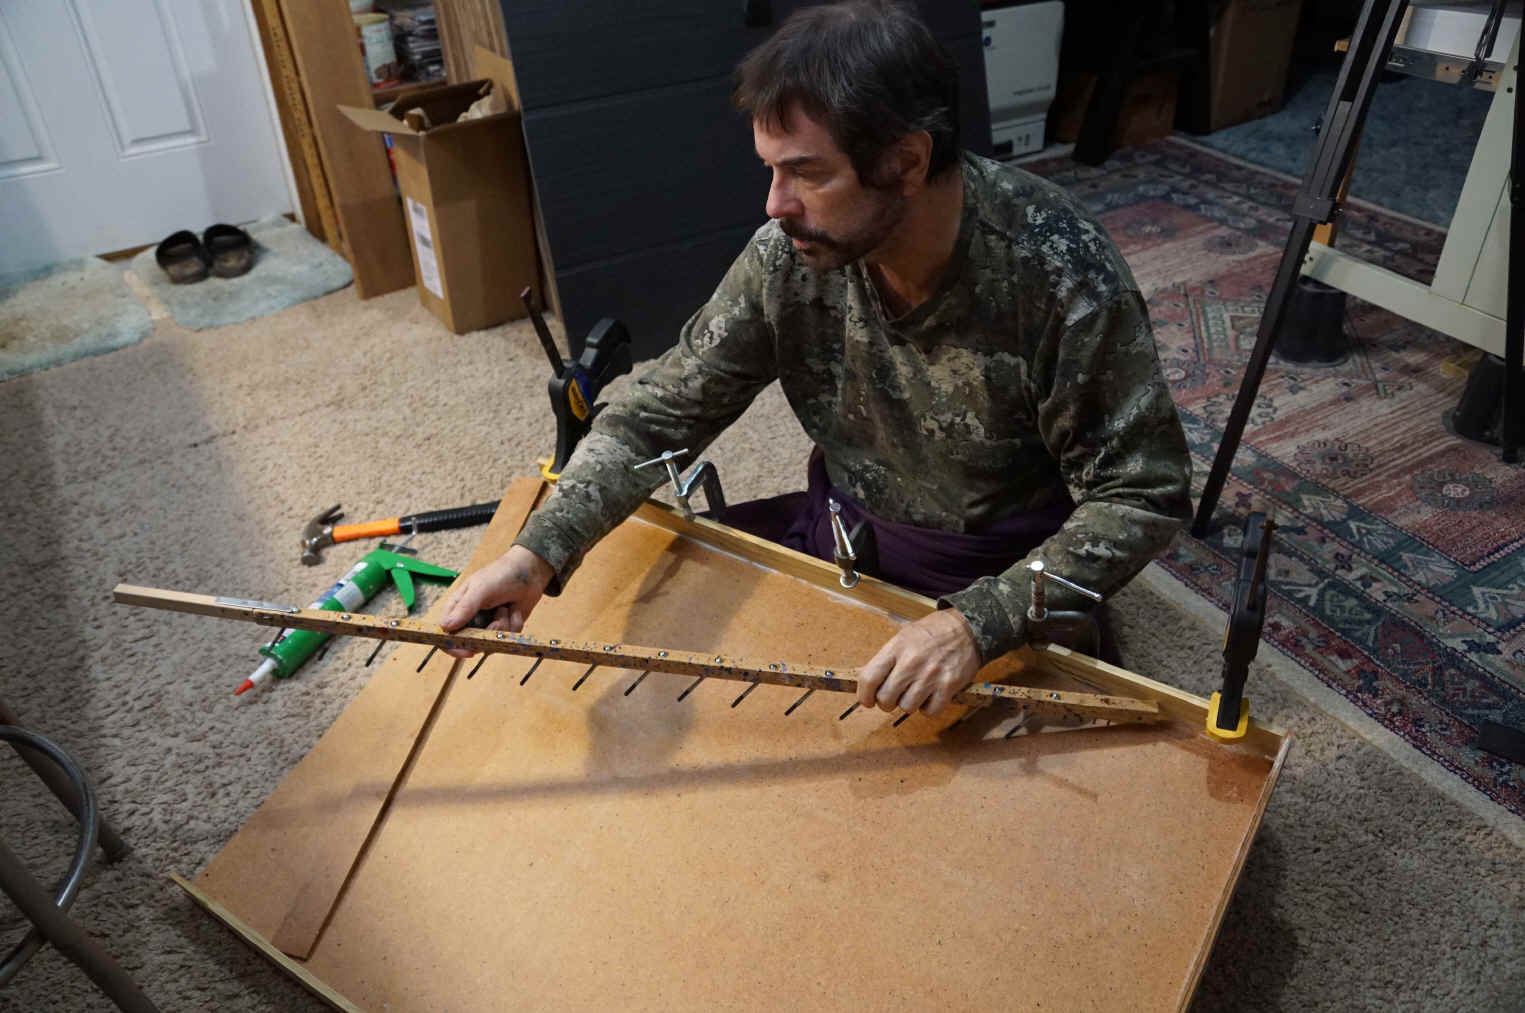
When you make a new tray, you have to make a
whole set of rakes and combs to fit it.
I made a new fine-tooth comb with 270 teeth (it will never
again look so clean and shiny).
Marbling some leather belts, August 2019:
Leather belts and purse pieces on the drip-drying rack:
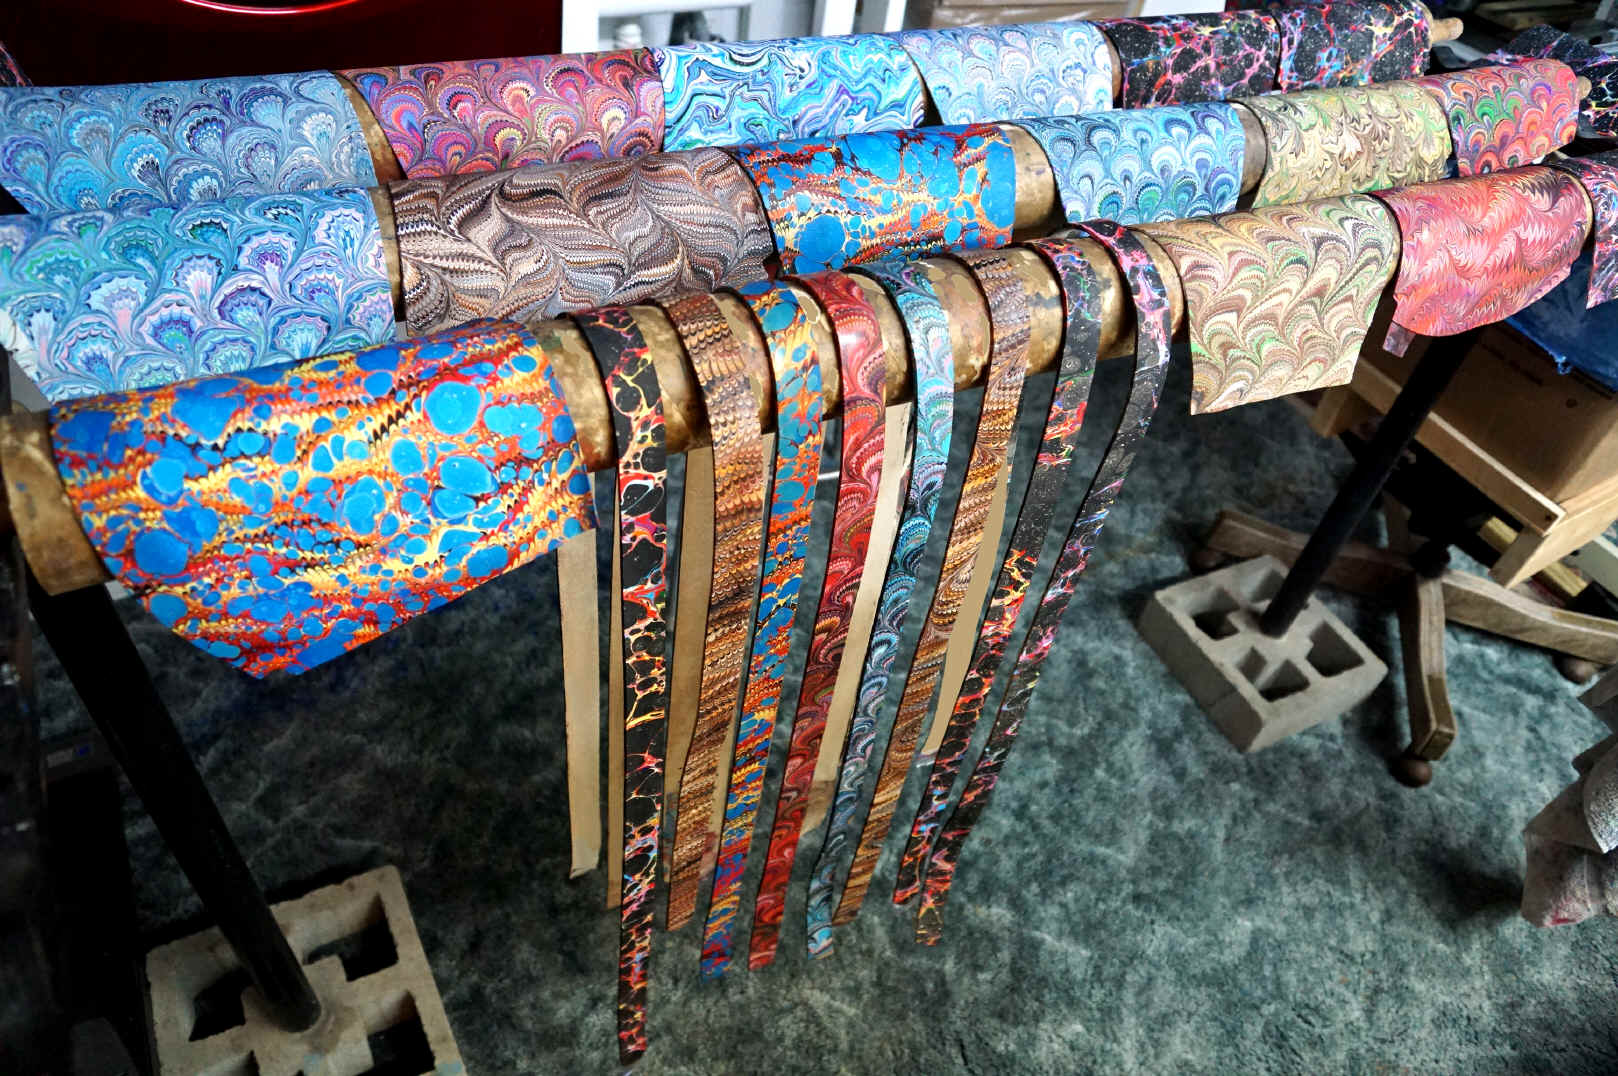
A good drip-drying rack can be made from some thick carpet tubes or some large PVC plumbing pipes. You can just stretch them across from one chair or table to another, and put some towels on the floor or old carpet to soak up the drips. Yes, the papers will dry with a bit of a curve in them, but that flattens out easily -- just stack the papers after they are dry and put a piece of plywood on them for a day or two. You can even use pipes or tubes that are a lot smaller, like an inch or two in diameter. You'll have more of a curve in the dried papers, but even that will flatten out easily enough under some pressure. Never try hanging your wet papers on a line with clothespins! That's very awkward and you'll smear them for sure because they'll flop over or stick to themselves; also, it will damage the corners.
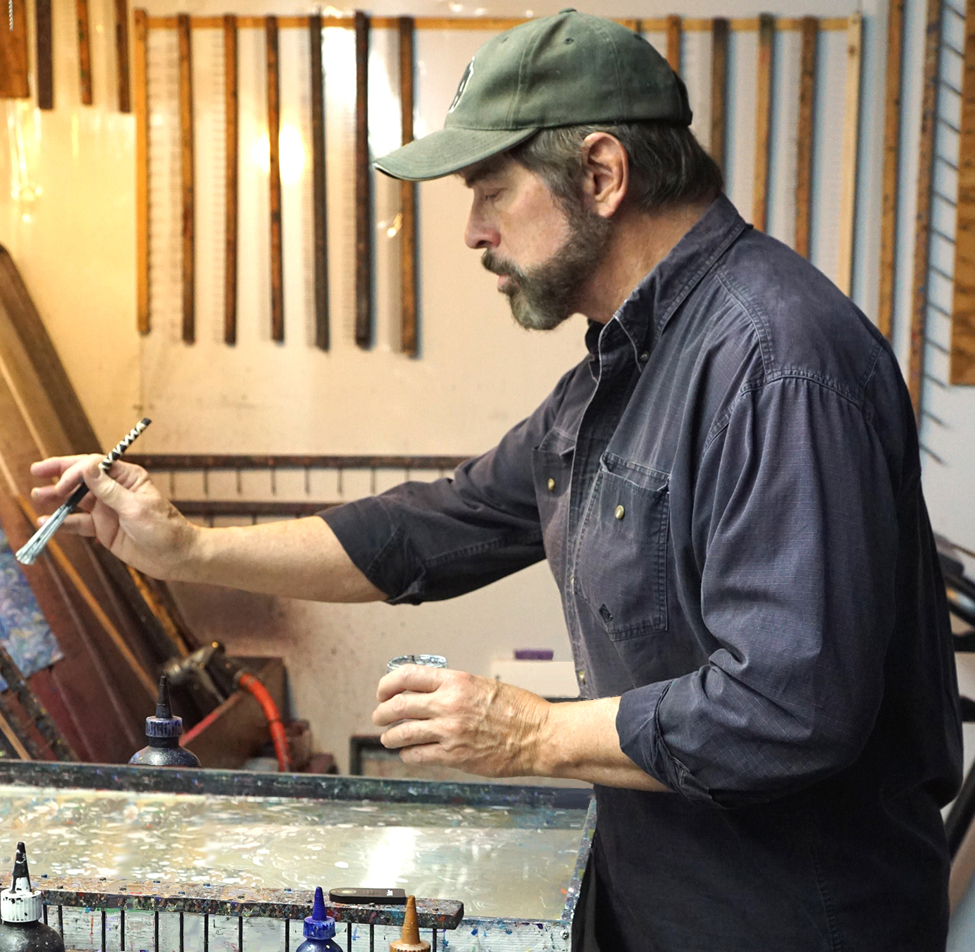
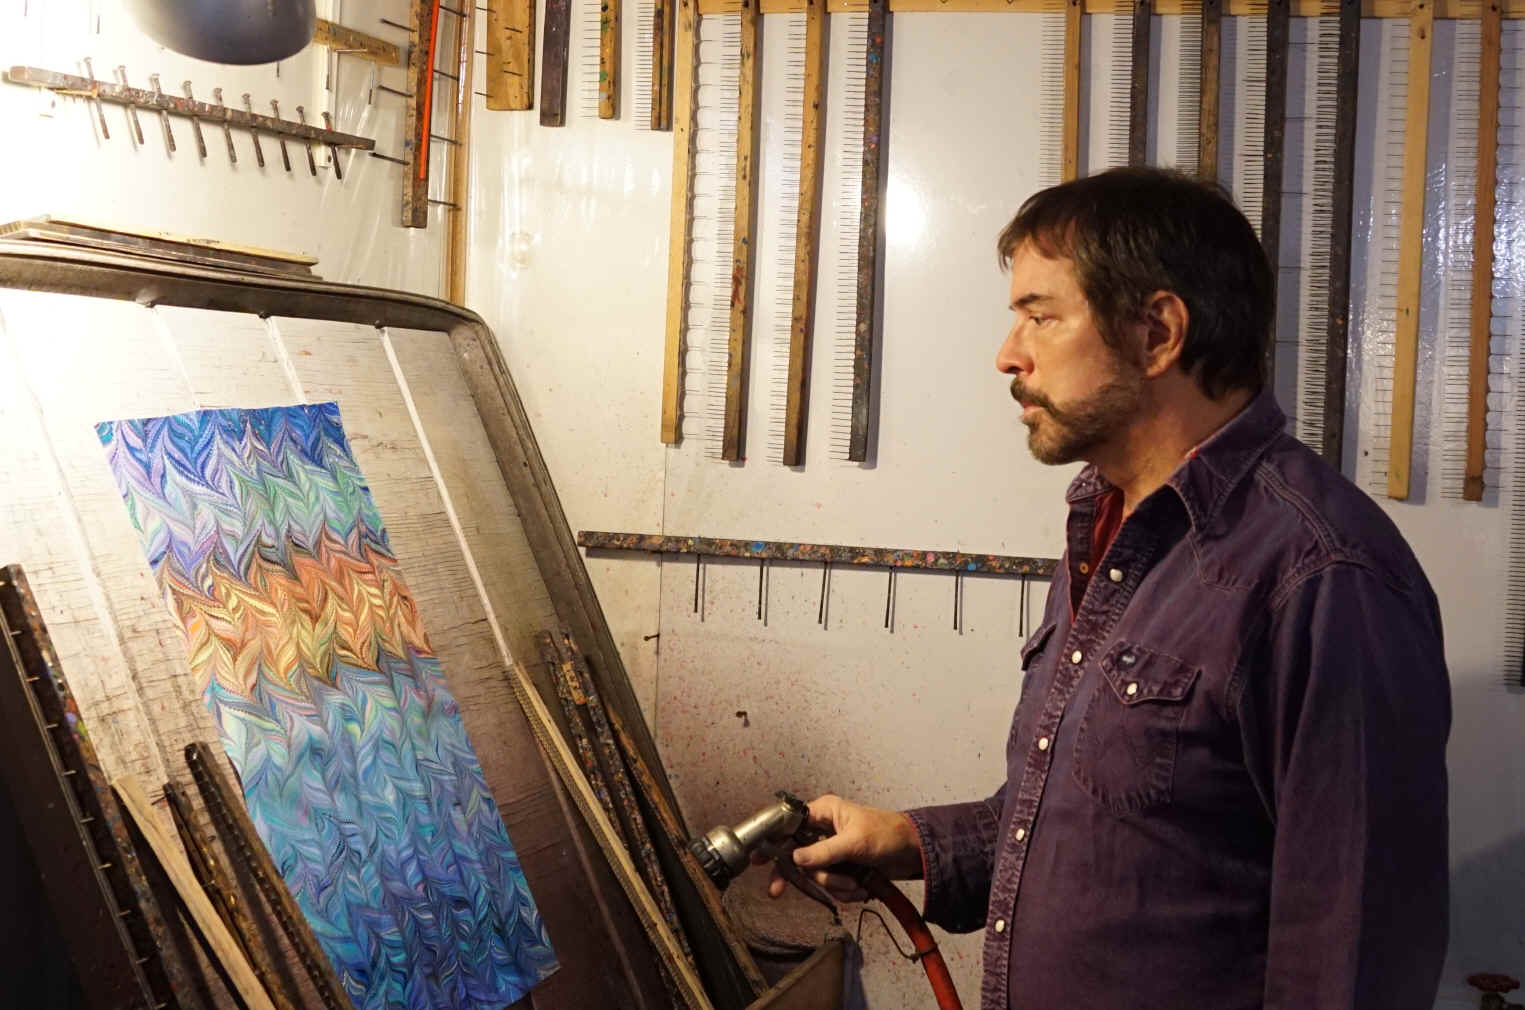
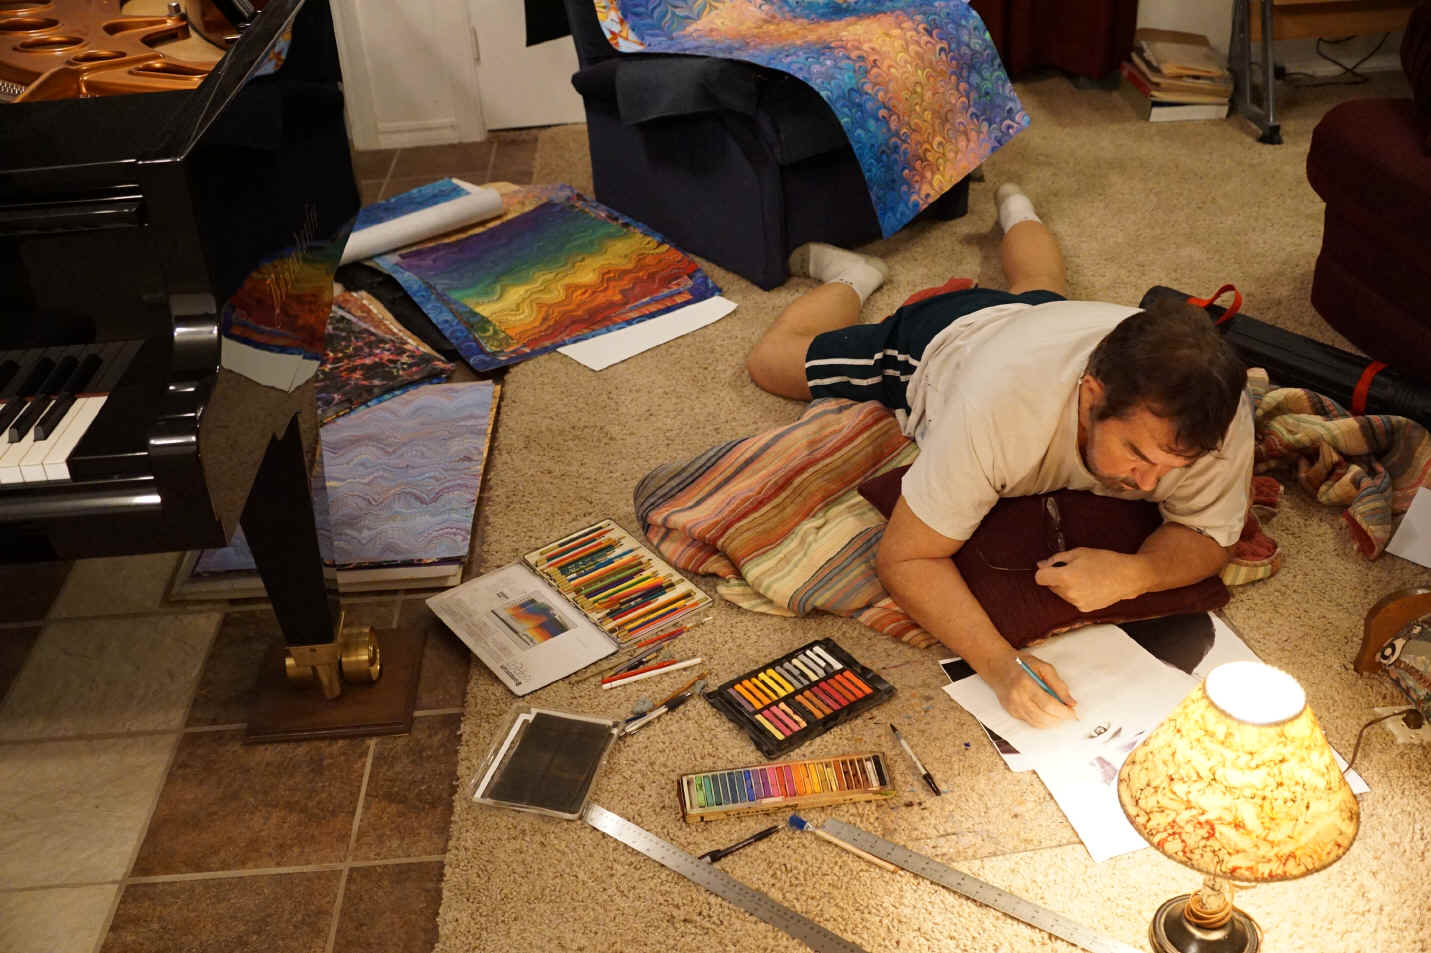
This is of course the best position for producing your best art!
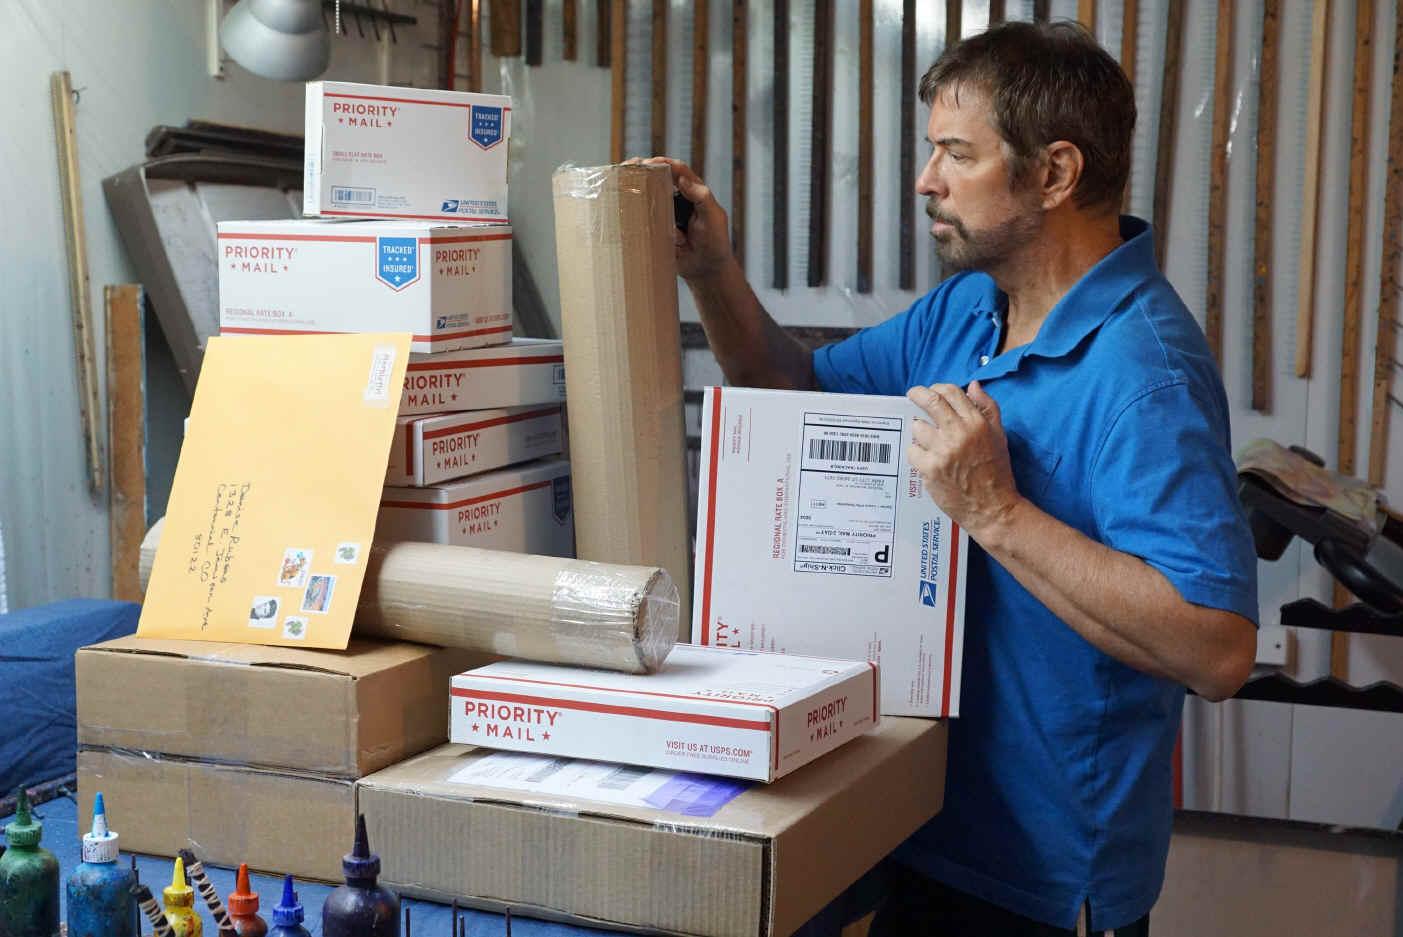
I shipped out this many
orders for marbling supplies in one day.
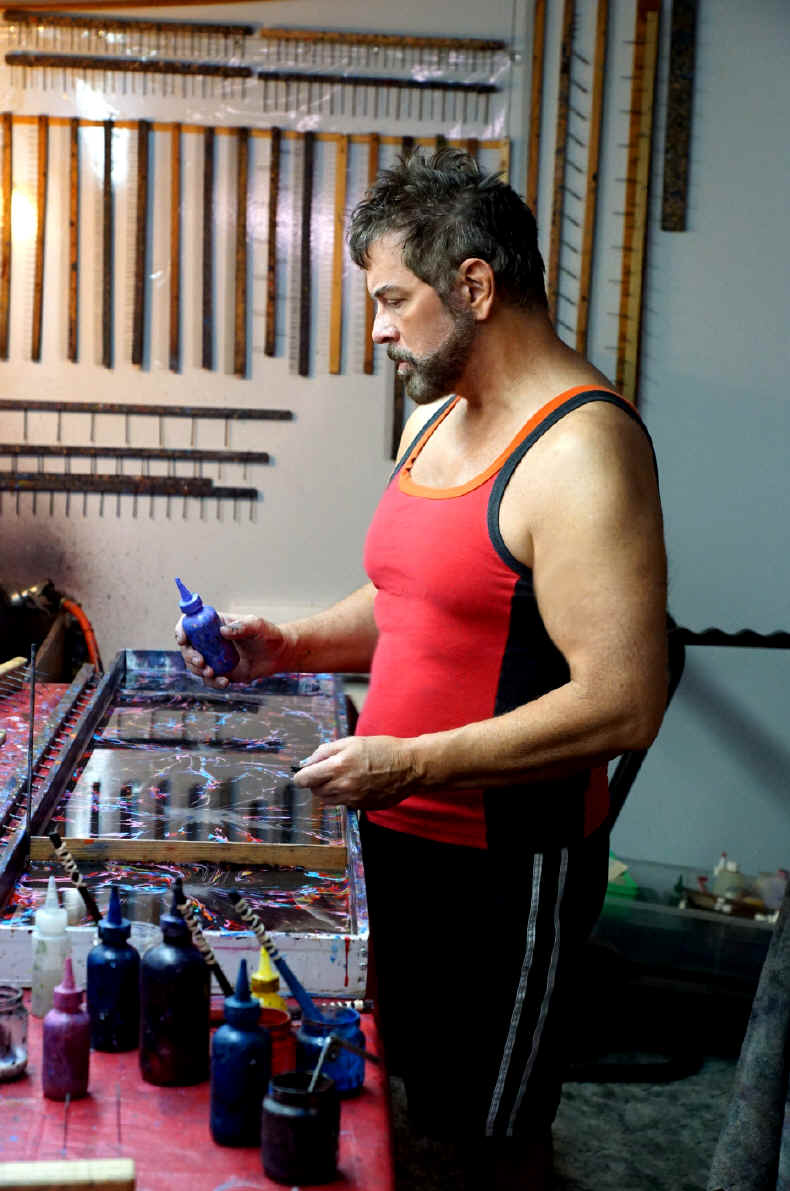
Why get dressed up for marbling -- you're just going to make a mess!
Sometimes, you just have a marbling day when nothing goes right! And that's okay. The next day, things usually go just fine.